Trailer
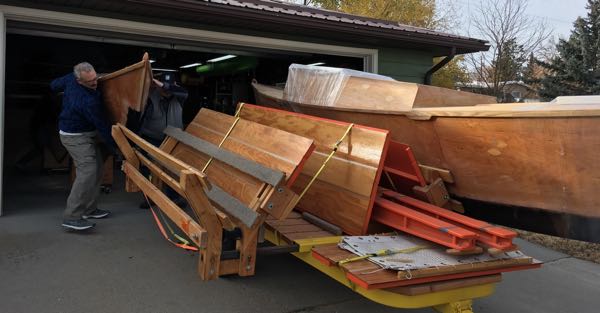
The trailer that came with my boat was a small tilt-bed trailer probably originally used for a small flat-bottomed john boat. The 10 foot long trailer bed means that the boat overhangs the trailer front and back it but seems to make it easy to launch and retrieve the boat. The way that the boat builder had adapted the trailer for a Tiki did not support the hulls individually. Instead it required the use of “travel beams” to connect the hulls together for stability. The hulls sat on wooden frames on the trailer. Launch and retrieval was difficult. It entailed a little ballet on the water to change from the travel beams to the real beams without upsetting either hull. I didn’t like it. And, after one launch and retrieval, thought that it would be impossible to do by myself.
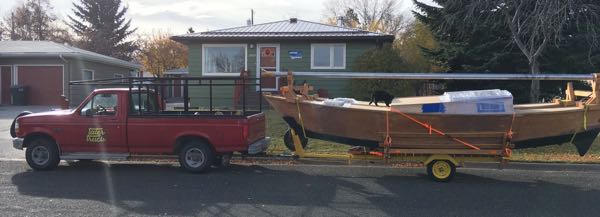
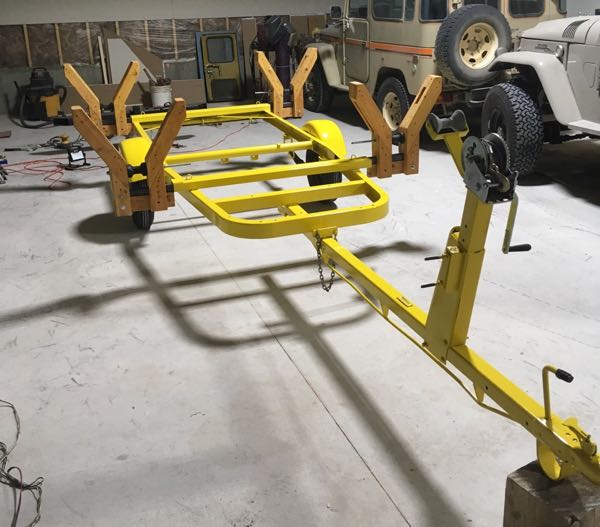
Internet research showed the most popular solution to be sliding arms to hold the hulls - slide the arms in for travel and out for assembly/disassembly right on the trailer. I did some design work and came up with a plan that would work with the current trailer. My plan had to consider an eight foot travel width; signal lights; storage for beams, platforms, and mast; ease of assembly on the trailer; and how to secure the load.
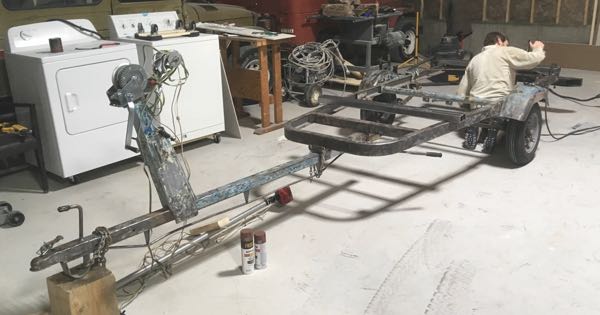
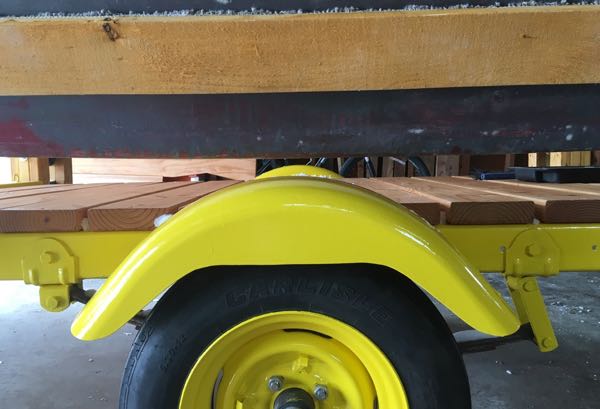
I started by removing the old bunks and older hardware off the trailer and then used wire cup brushes to strip loose paint. Then we welded some 2” tubing to the frame to act as the outside of the telescoping tubes. Primer and paint followed and then I decked the trailer with 2x6 wood. The decking adds weight but gives me the footing necessary to assemble the boat while it’s on the trailer. Many thanks to Tony for the welding and winter-time shop space!
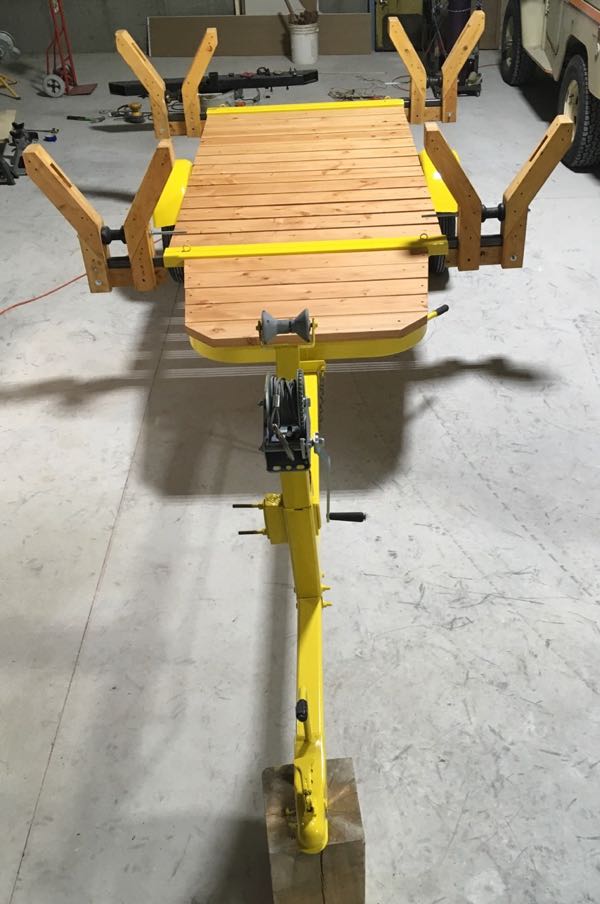
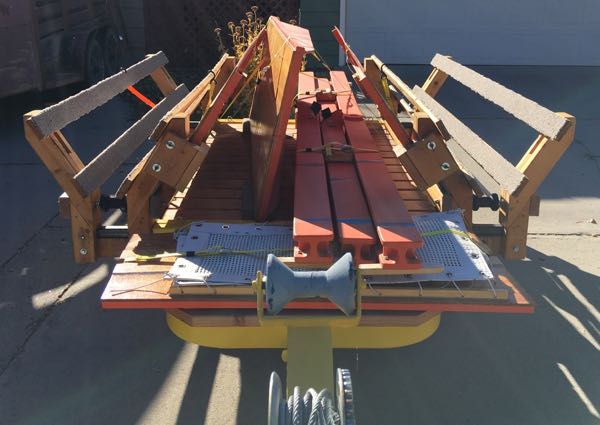
The V-shaped cradles are built of 2x4s connected by 1x4s running fore and aft. I attached the 1x4 bunks “loosely” to allow them to flex to the curvature of the hull. I also tapered the cradles to allow this. After fitting to width, I added 2x4s running fore and aft to prevent racking and give good handholds for operating the slides.
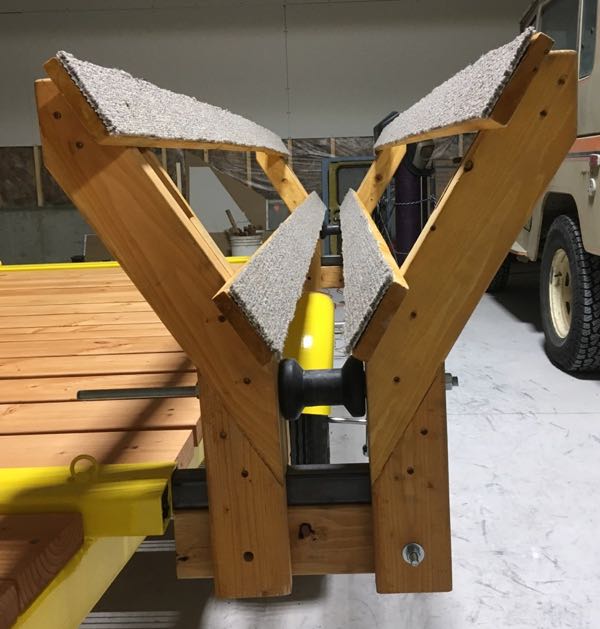
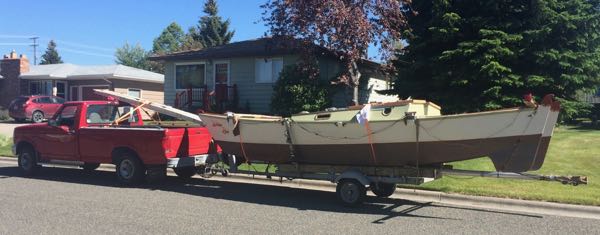
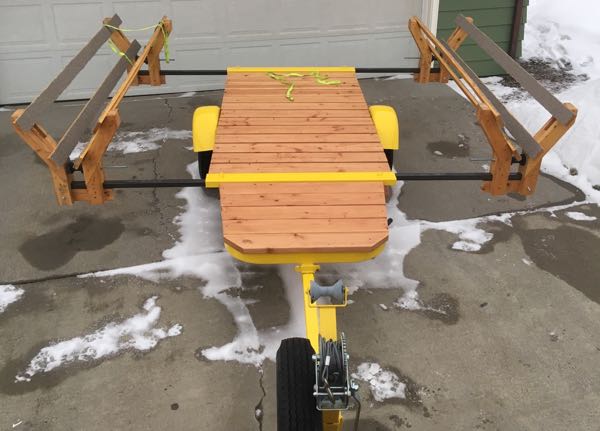
I designed the cradles so that they could be adjusted to the width of the hulls with using threaded rod. The adjustment would be a one-time thing since the bottom of the braces would be screwed to the inner telescoping tube after adjustment. I am happy to report that the adjustment worked fine! I adjusted to the old hulls, but later the new hulls fit as well.
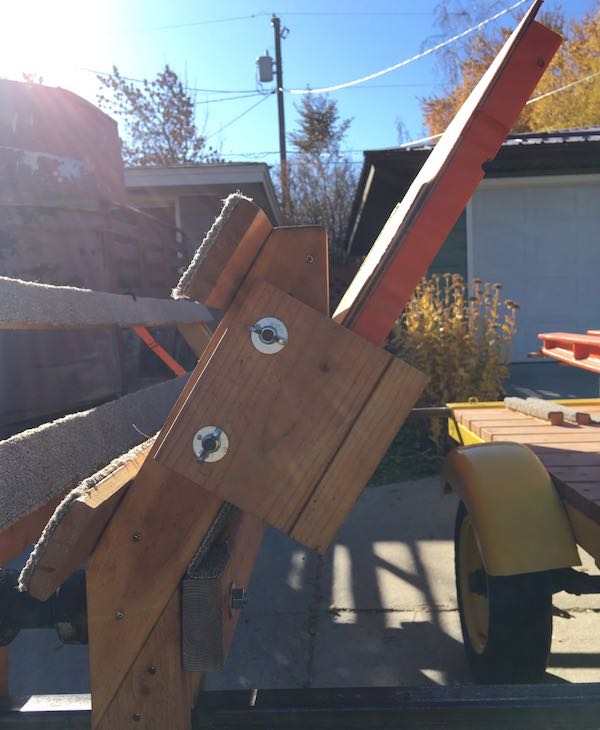
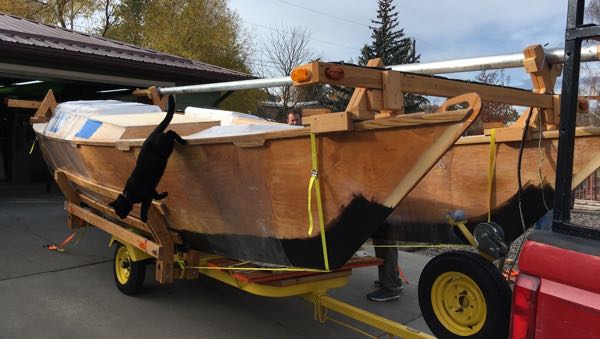
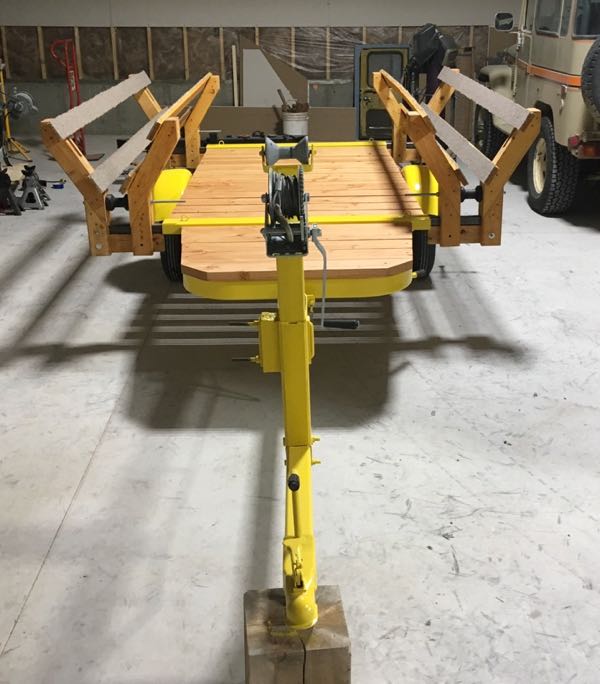
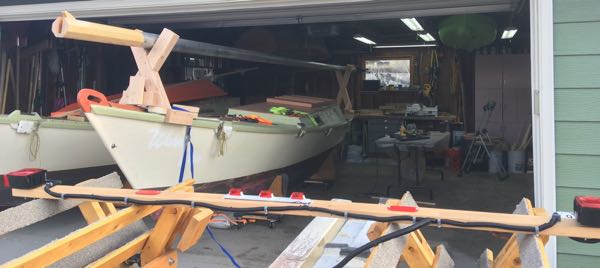
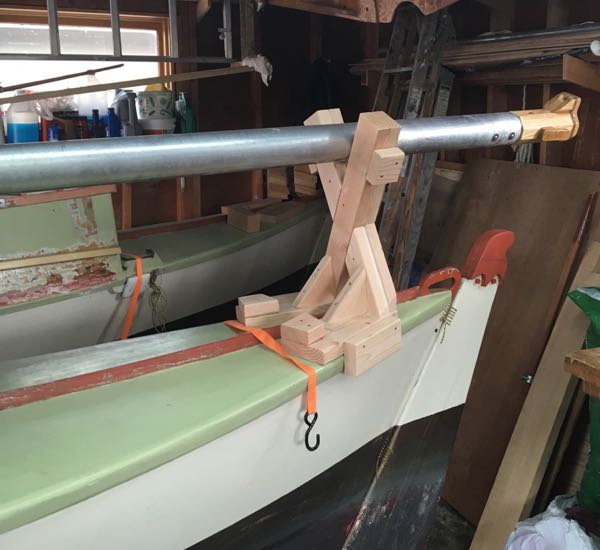
I built some cradles to lash to the fore and after decks of each hull to hold light bars. The port cradles also have Vs to hold the mast. It’s a bit complicated but allows me to have all the necessary lights for a load this size. It will also allow me to leave the mast in its storage position during assembly. So once the decks are in place I can just pick the mast up right off the port hull and move it a few feet to the mast step.
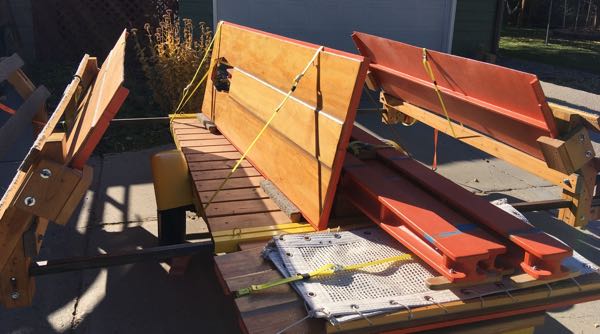
Storing the beams and platforms on the trailer in between the hulls is like a puzzle. Space was tight and I had to consider the assembly/disassembly sequence to make sure that pieces weren’t trapped. I built cradles on the inside of the telescoping hull cradles to hold the side platforms. I made the fronts of those cradles removable so that the pieces could be slid out forward if there wasn’t room to slide them out from the top. The beams, center platform, and fore deck are stored on bunks on the trailer decking. When the hulls are slid out I will temporarily move the center platform to the starboard side of the deck. That should give me enough working room to move the beams from storage to the hulls for assembly. I hope! I still haven’t had a chance to assemble the boat on the trailer by myself and test out these ideas.