Going Soft on the Main Hatches
The main hatches that came with the boat needed a lot of repair work or needed to be rebuilt. Also, the more I used the hatches the more I disliked the original design. So I set about looking for what others had done. I found one-piece hatches that slid forward on rails. I liked that - except for the rails across the cabin top. I also liked hatches that opened outward on rope hinges. Usually they had a strut or stick to prop them open. I liked that design too, but it didn’t allow for partial opening.
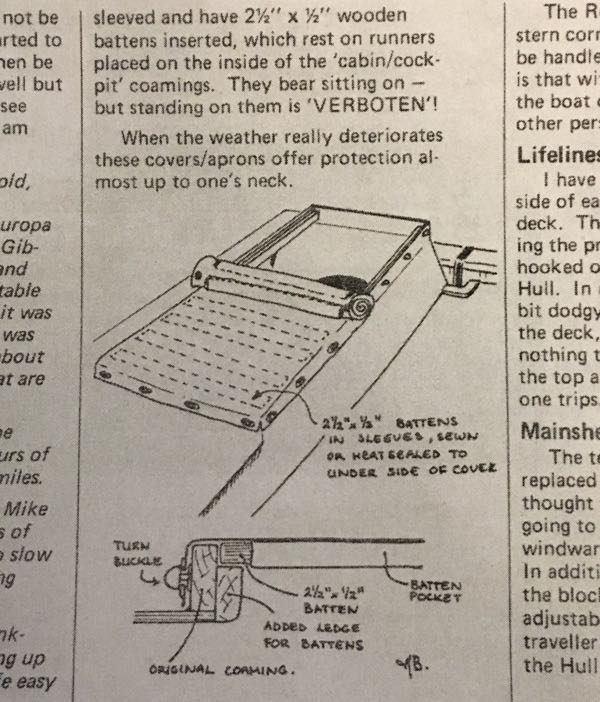
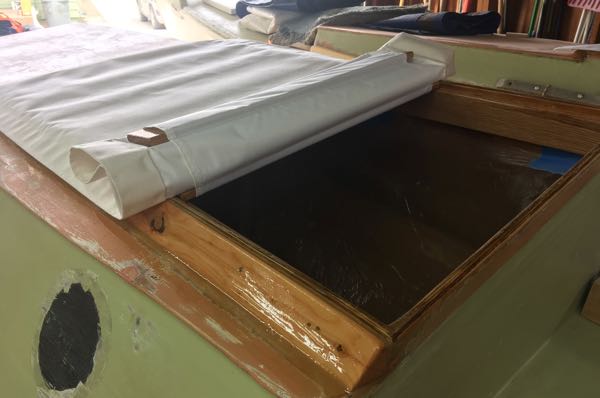
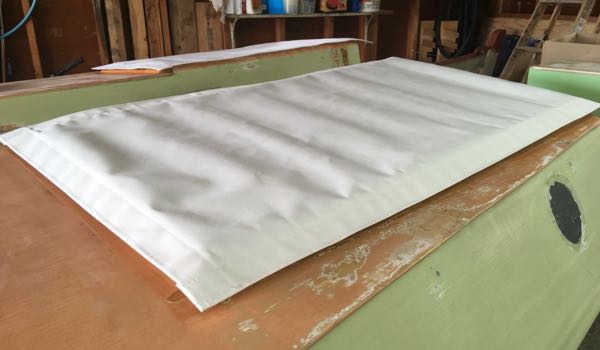
The design I decided on was one that I found in an old issue of Sea People magazine. It’s a soft hatch that rolls forward to open. It has battens across the opening to add support. It’s secured around the edges by fastening to the coaming.
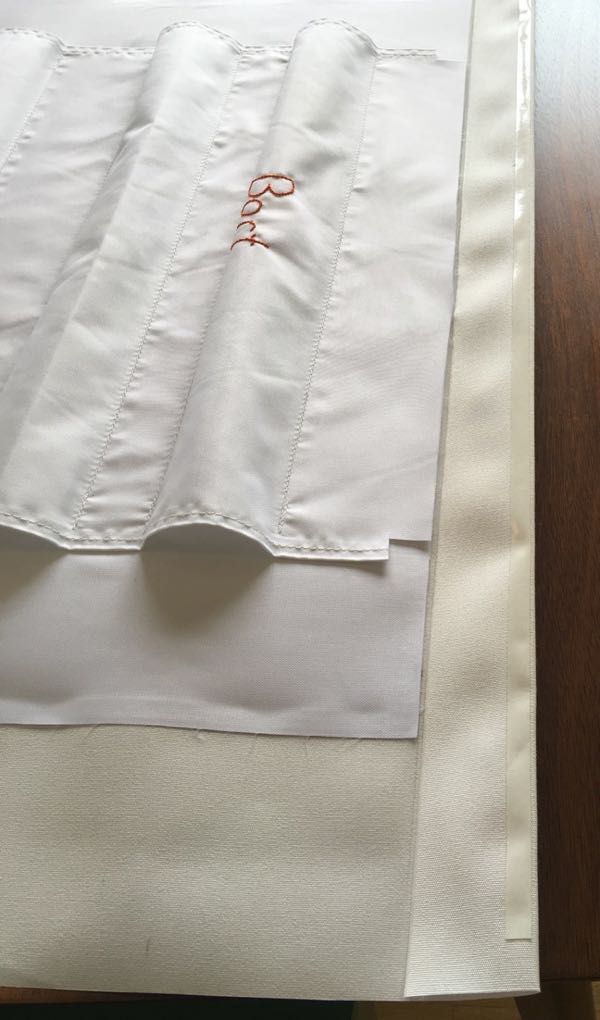
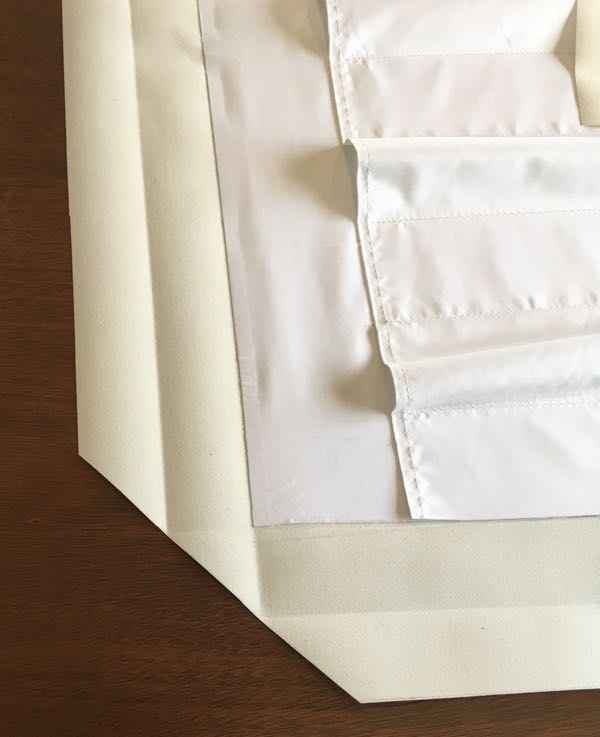
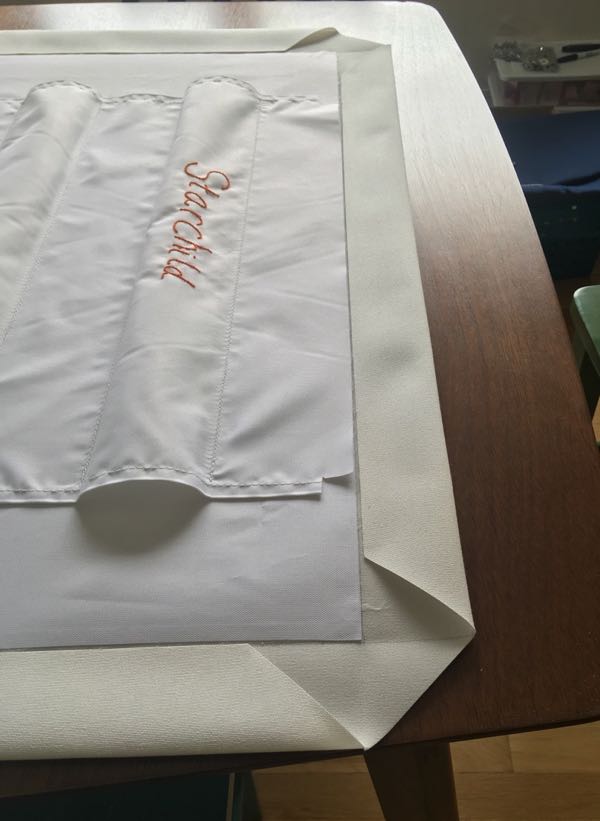
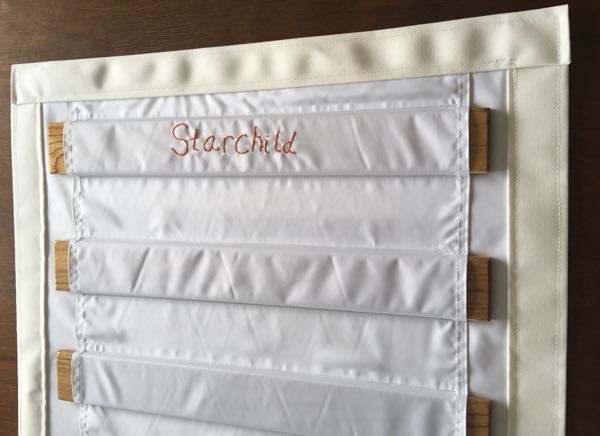
I decided to build my soft hatches out of two layers of material. The nylon inner layer would have pockets sewn into it to hold the battens. Using an inner layer would eliminate a lot of seams in the Sunbrella outer layer. Sizing the hatches was difficult because neither of the main hatch openings had parallel sides or were consistent with each other. So each hatch is embroidered to remind me which hull it fits - Starchild or Bort (starboard or port). I used basting tape on all the seams to help with sewing and to add waterproofing to the needle holes.
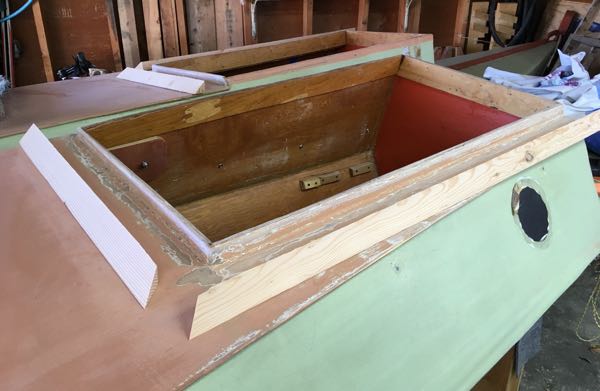
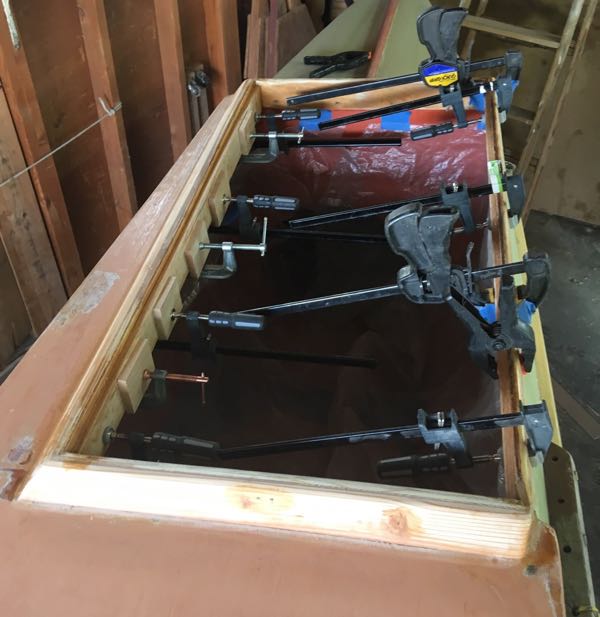
The main hatch coamings on the hulls were not build according to plans. They were generally much shorter than the 1 1/4” called for in the plans. Some as short as 3/4”! This was going to make it difficult to fasten the hatch to the coamings simply because there would not be room for the fasteners. In my case, I was going to use Lift the Dot fasteners instead of turnbuckles or snaps.
To fix this problem I added angle-shaped pieces of wood to the outside of the coamings to give a larger area to use the fasteners. I worried that this would essentially be a “slope” for water to run up and under the hatch when driving into a sea. I decided if this was a problem then I would add a deflector just in front of each hatch.
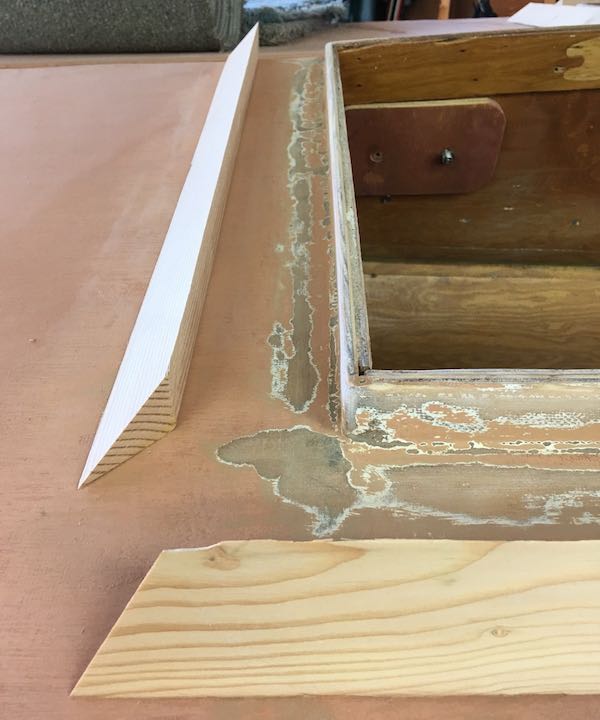
I also added ledger boards inside the coamings to support the battens.
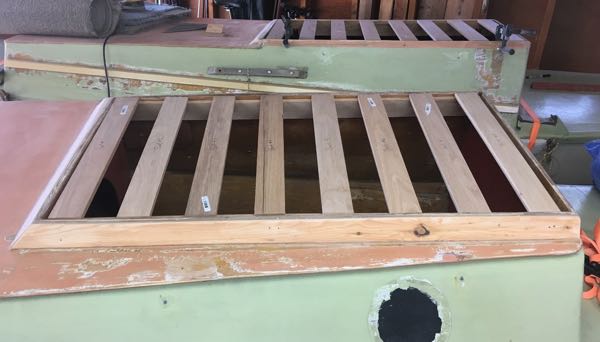
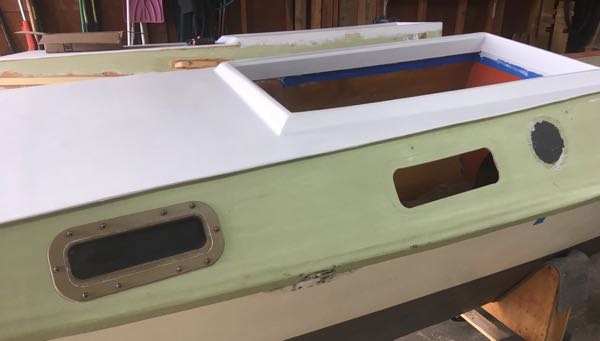
At this point the hatches fit well and rolled up easily. It felt very sturdy to sit or lean on the hatches. The battens were made of 2 1/2” x 1/2” oak 8” apart on center. The next step was to add the Lift the Dot fasteners around the edges of the hatches and then place the matching studs in the coamings.
Luckily! My timing was such that I was just about to add all fasteners when I decided to scrap the hulls altogether. When I get back to fitting these soft hatches to the new hulls I think I will be glad that I didn’t add any fasteners yet.