Adding the Bunks
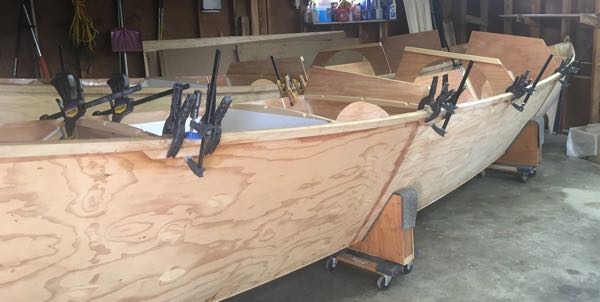
With the hull fillets done, it was time to add the bunks. The building instructions call for drawing the hulls to full-size to measure the bunks correctly. I decided to just measure using scraps of cardboard and tape and some trial and error. It worked fine.
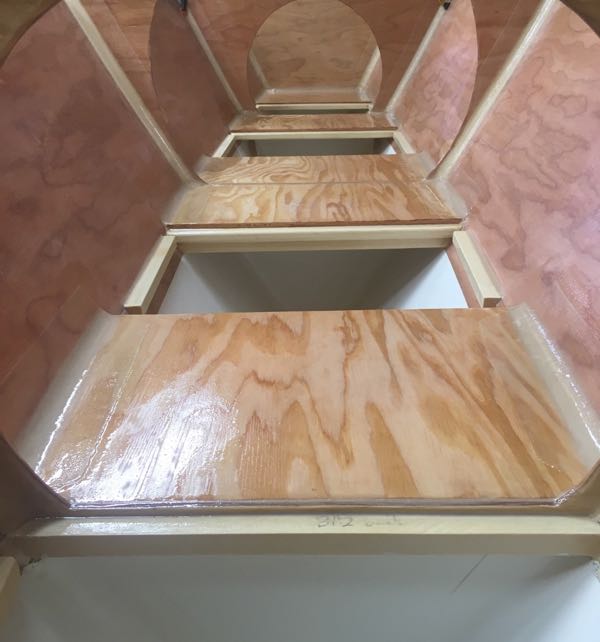
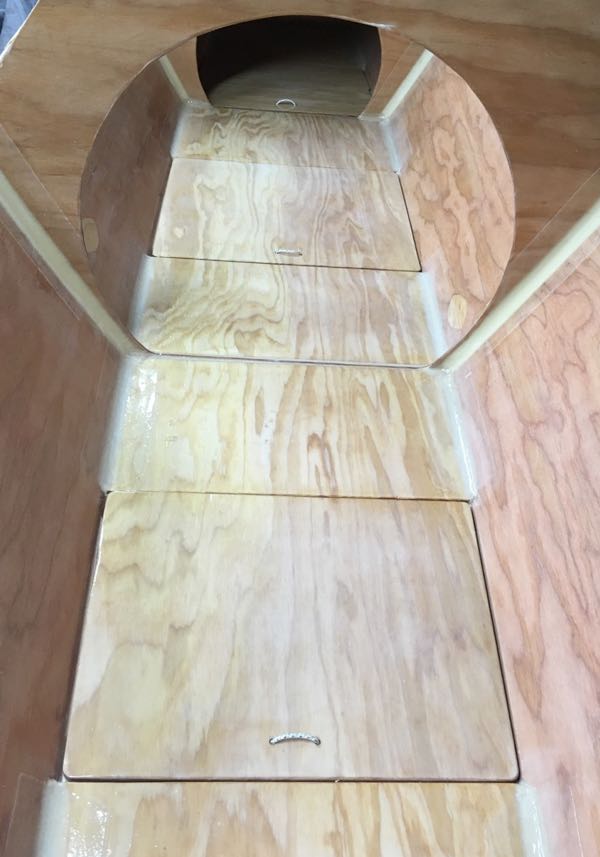
I also deviated from the plans in the thickness of the plywood that I used for the bunks. In the previous hulls, I had broken every single bunk just by crawling around in the hulls. So I wanted to overbuild some. The plans called for 1/4” but I used 3/8” plywood in the middle two sections of the cabin (where I would be sleeping) and 1/4” in the ends. I also added a stiffener to the bunk bearers supporting the removable bunks in the cabin section under the main hatch - where I would be stepping in and out.
I stole Brad’s idea from Beto and made the fixed aft cabin bunks 2” longer than the plans call for. That should allow for a bigger seat if you wanted to put your feet in the bilge. I’ll see how that works.
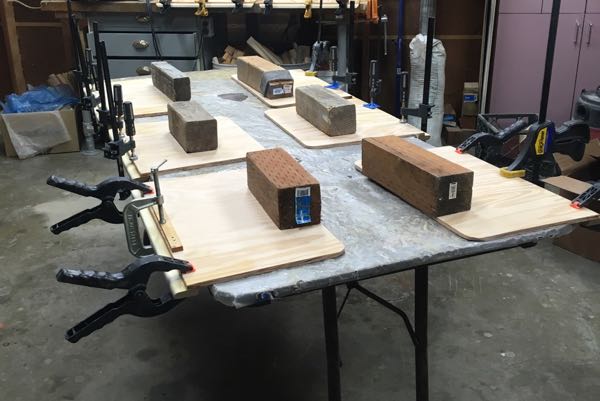
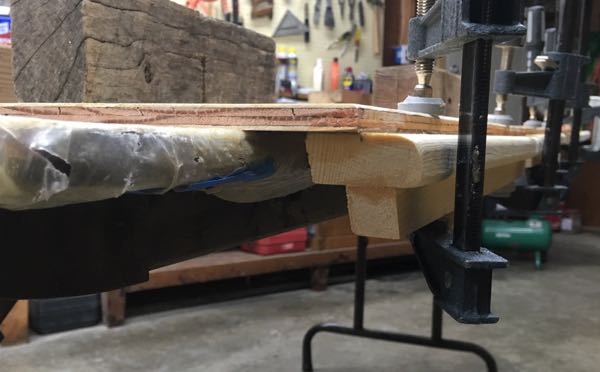
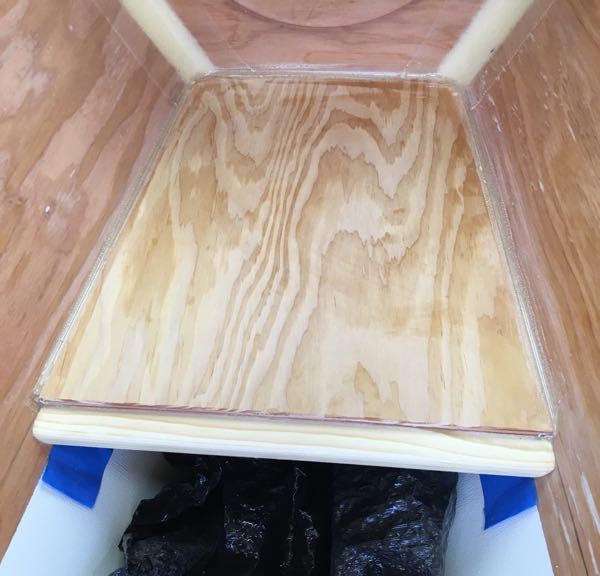
I glued the bunks in without wires. I just pushed them into place added a few nails through the bunk bearers. After the epoxy cured, I added fillets underneath the bunks (what a pain!) and then big fillets on top with fiberglass tape.
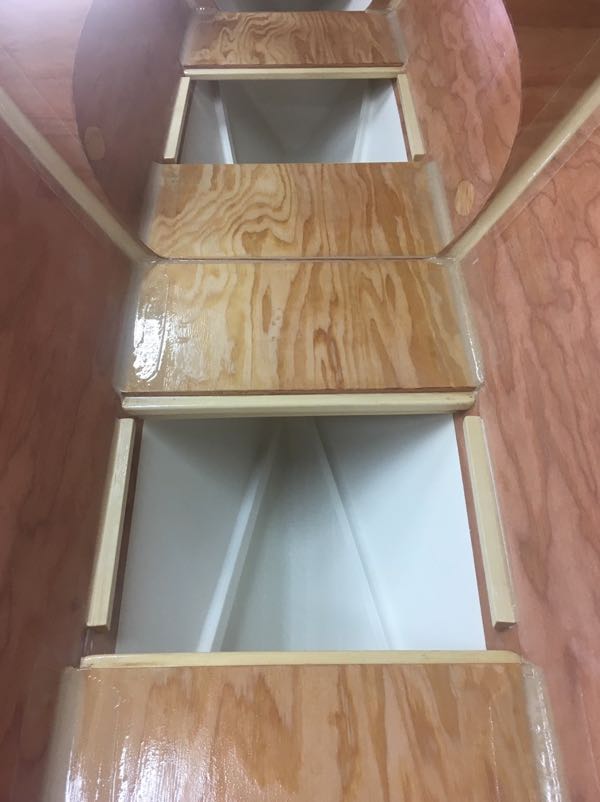
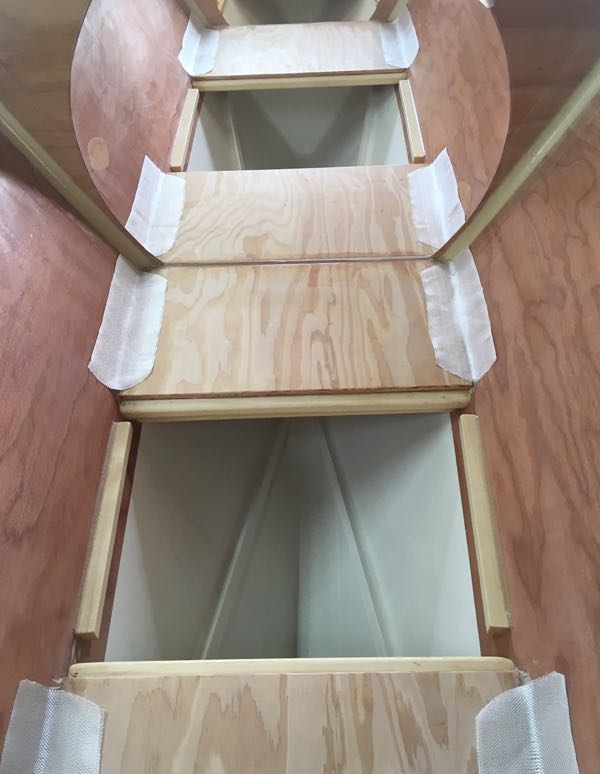
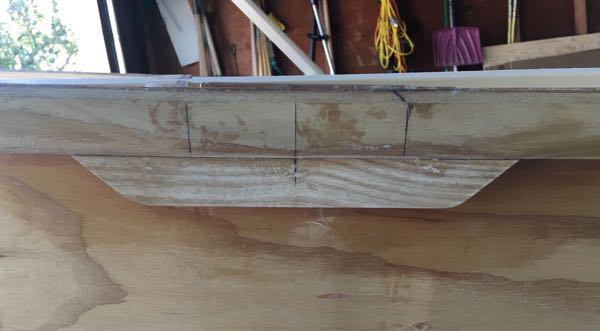
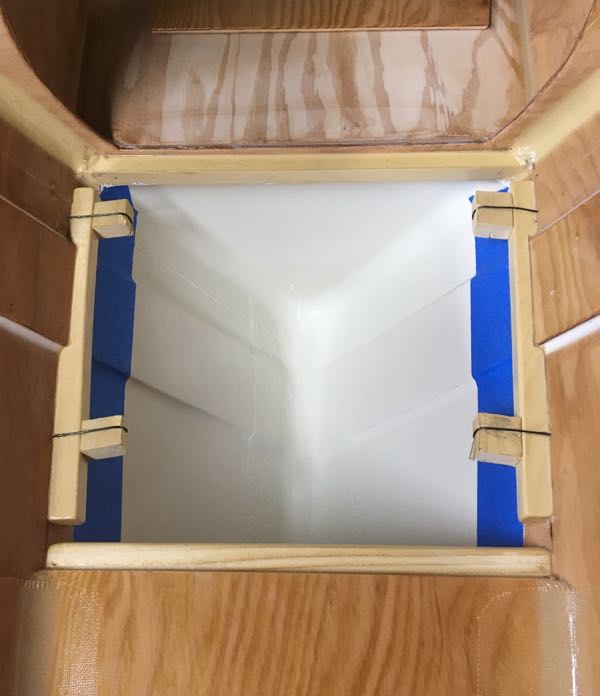
I stitched and glued in the hull-side bunk bearers. And then added fillets on the bottom and small cosmetic fillets on top. Along the way, everything was coated with two coats of epoxy as well.
I also added the sheerstringer doublers to support the beam and shroud cleats.