Coamings and Hatches for the Bow Lockers
I generally followed the building plans for the coamings and hatches for the bow lockers. My differences were: 3/4” stock instead of 1/2” stock, 3/8” plywood for the coamings instead of 1/4”, and the fore and aft blocking I had added to the inside of the deck made the coamings very easy to attach.
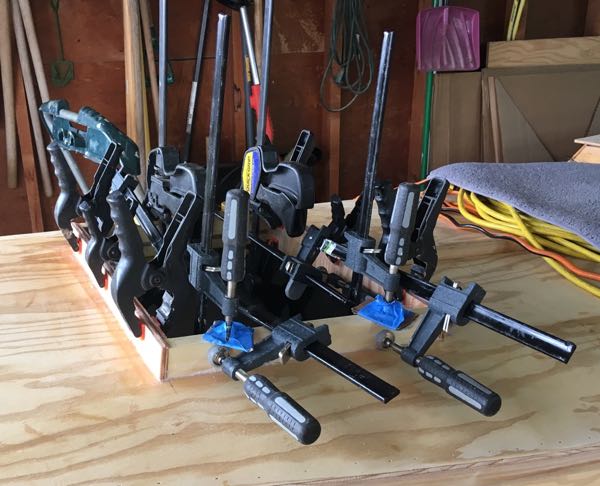
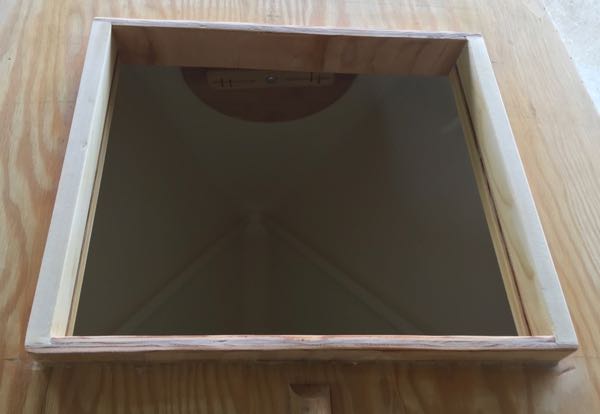
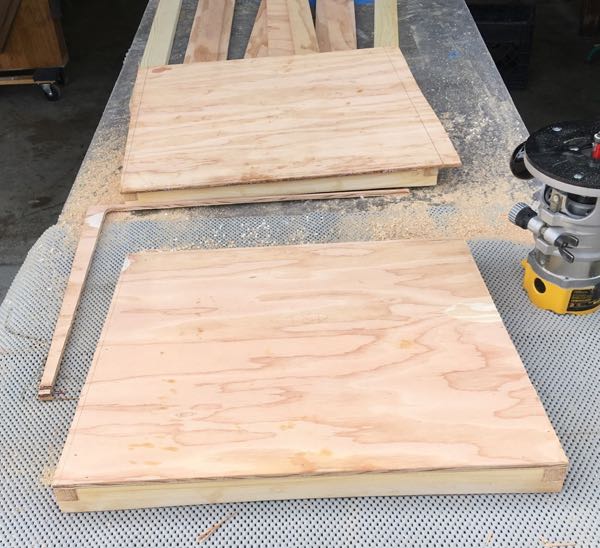
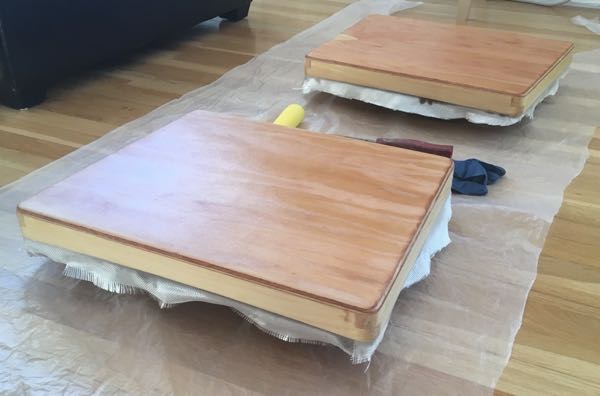
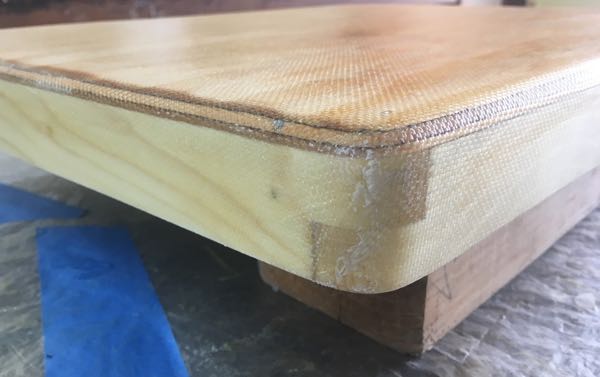
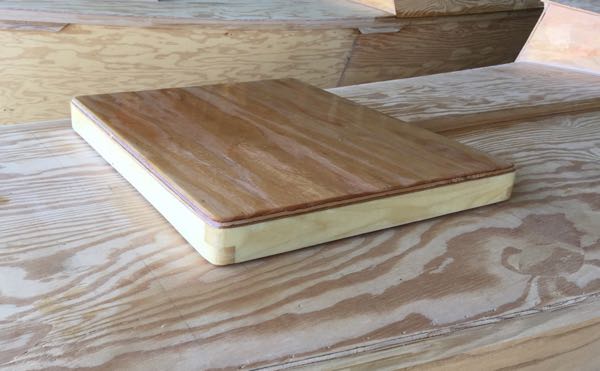
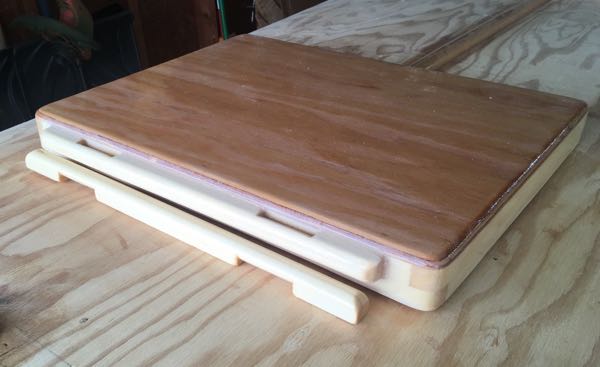
I built the hatches by first fitting the frames to the coaming with the proper gap and gluing them in place. Then I glued ply to the top of the frames and trimmed it flush with the router. I added fiberglass and the supports for rope hinges.

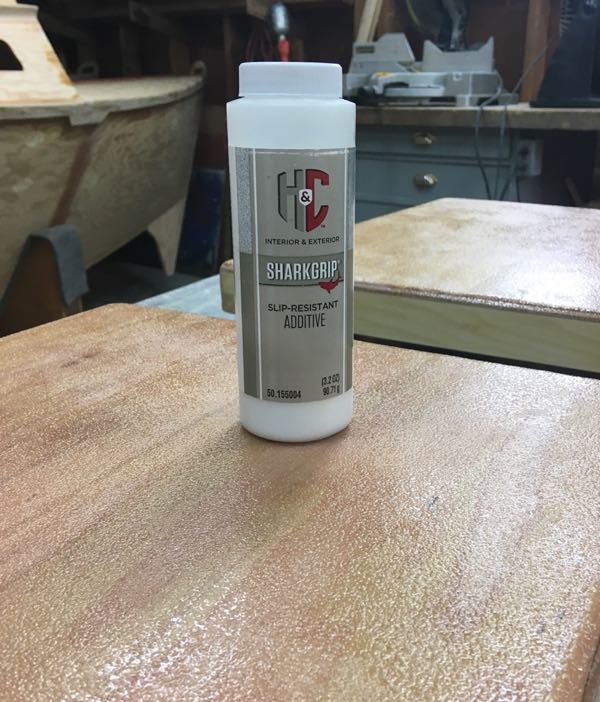
To get a non-slip surface for the decks I have been adding a non-slip powder used for concrete sealer. I add it to the last coat of epoxy before painting.
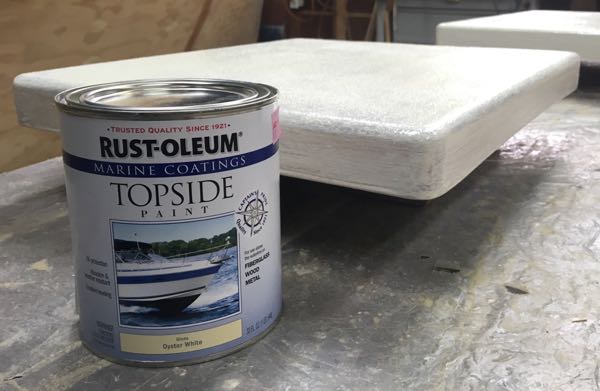
I painted the hatches with oil-based Rustoleum Topside paint. It seems to be a good paint but was $18/quart and was a brighter white than I wanted. I also didn’t think the oil-based cleanup would be very practical if I wanted to touch up paint while traveling. I think I’ll switch back to a latex paint for the hulls.
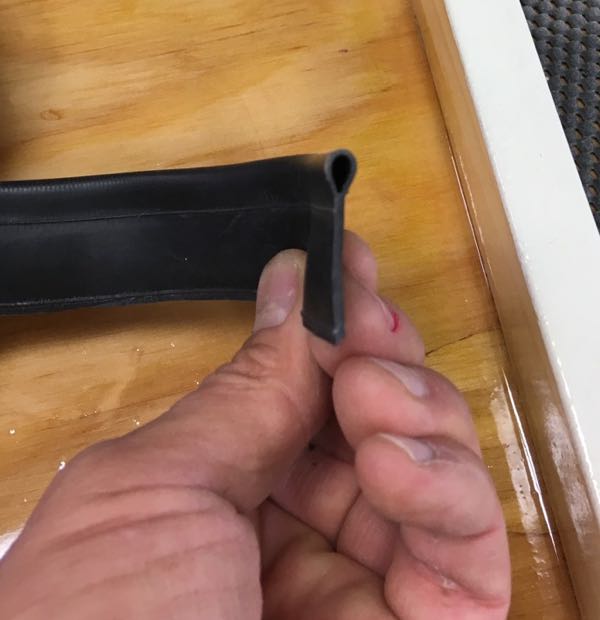
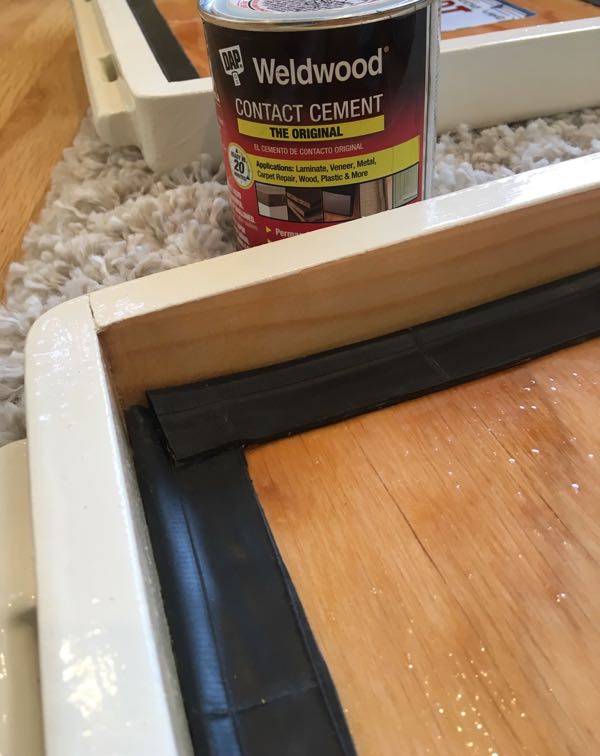
I doubled over strips of old bicycle tubes for the gaskets.
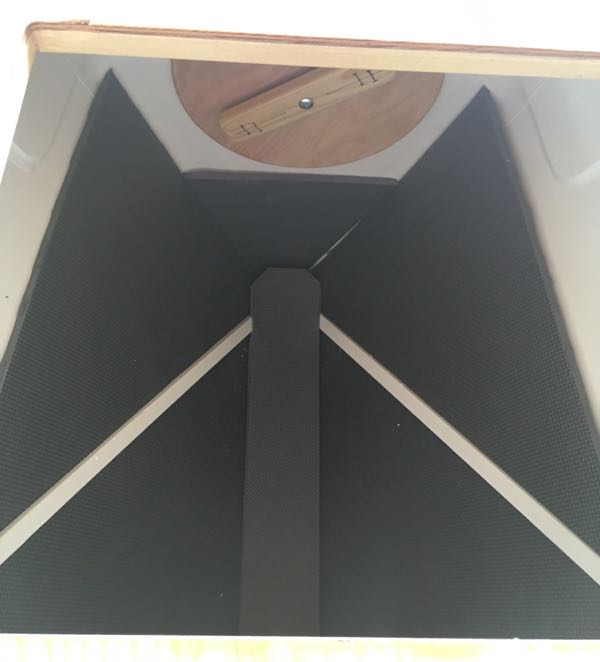
In the bow locker, I cut and placed some foam padding to keep the lockers from getting beat up by the anchors.