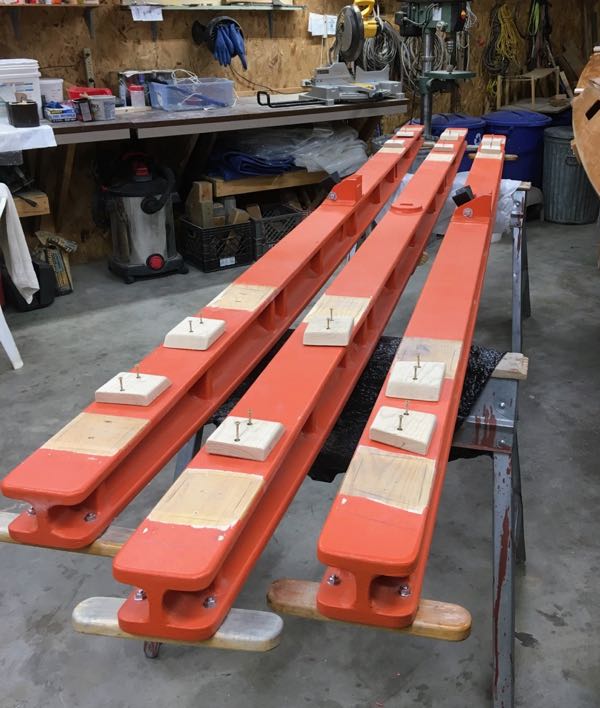
Mis-Adventures in Beam Sockets
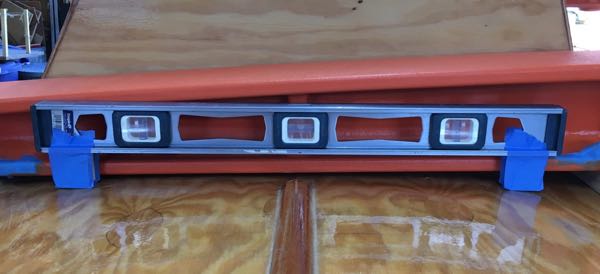
Ugh. I had a long, rough time getting the beam pads and sockets properly constructed. I started by leveling the hulls with shims under the hull cradle wheels. Then I leveled the beams in their spots with a line level.
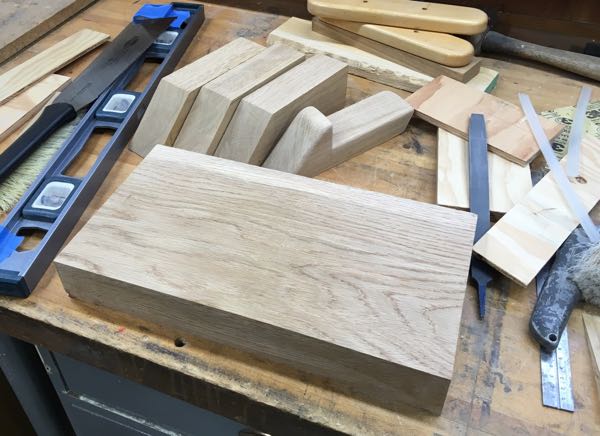
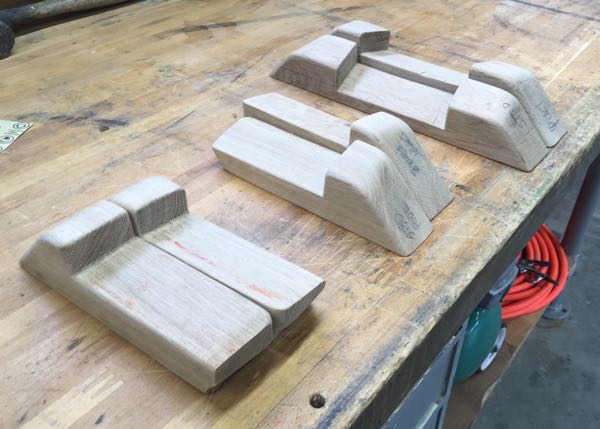
I created cardboard templates of the sockets and cut them out of 2” white oak. I glued and screwed them in place and was pretty happy with myself until I added the beam blocks to the under side of the beams and found that I hadn’t left enough room under the beams for the blocks!

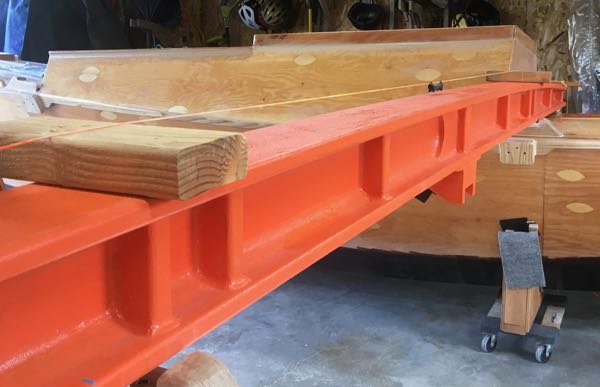
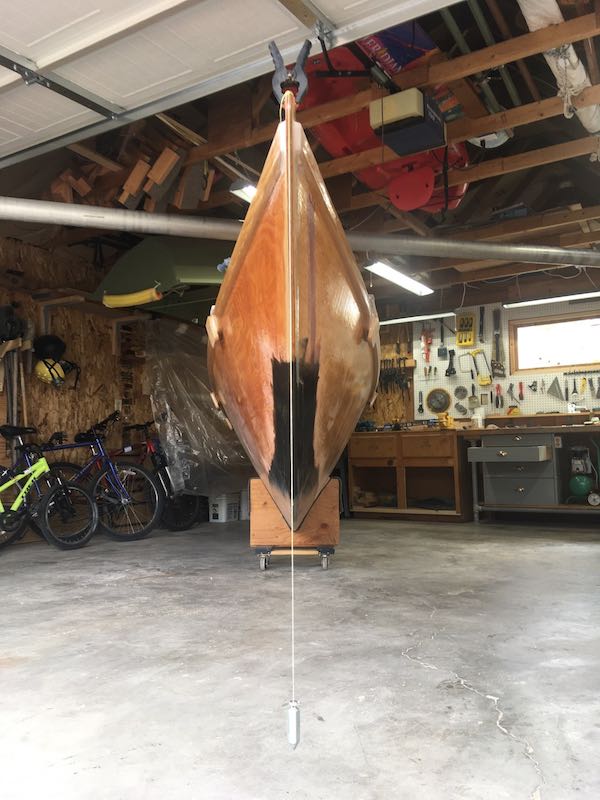
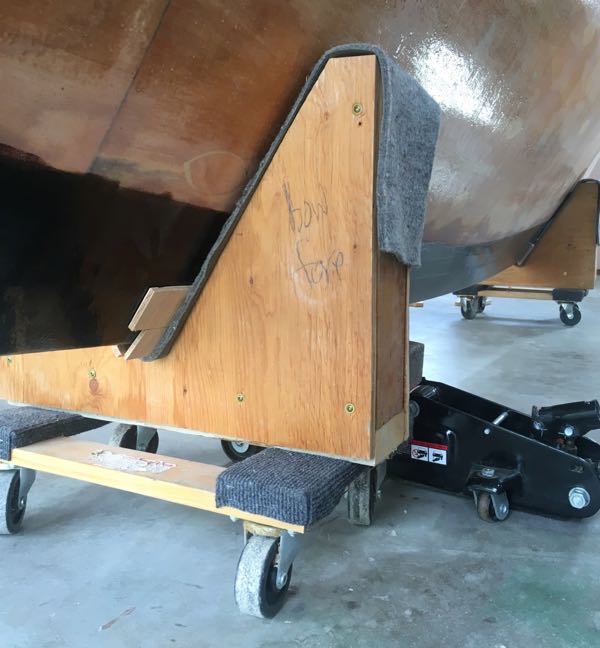
I also found that my technique for leveling the hulls didn’t work that well and the beams weren’t sitting flush when tied down. So I switched to using a plumb bob to get the stems and sterns vertical and put shims in the hulls cradles to hold them in place. Then I leveled the hulls to each other with a string line.
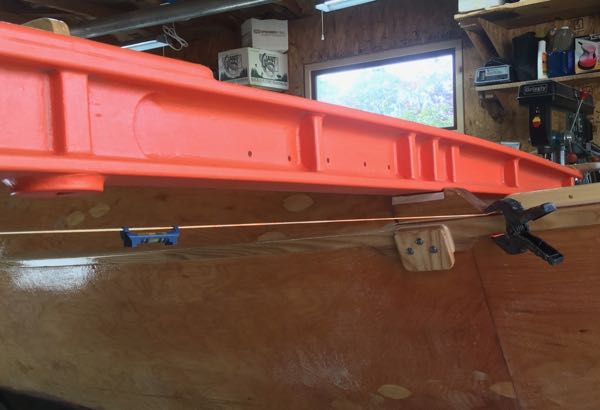
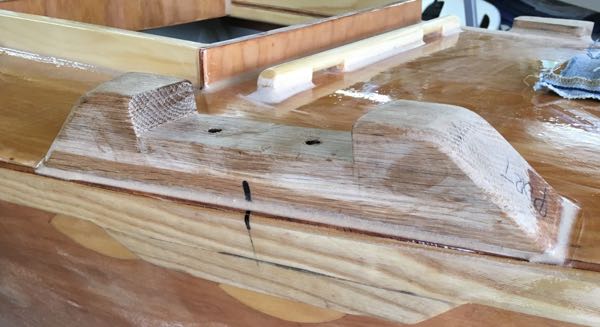
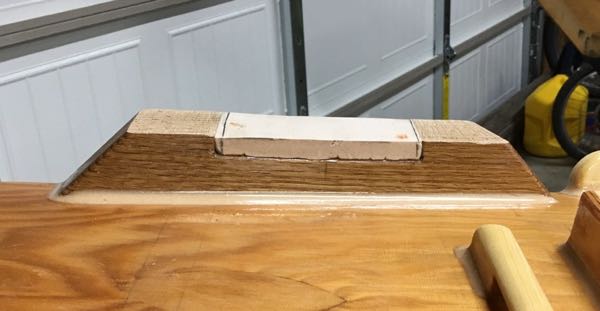
Now I had a good base to work from. I decided to build up the existing pads and sockets with thickened epoxy to make room for the beam blocks and to adjust the bevel for the improved beam orientations. It took a few rounds of building up and then trimming and sanding and building up again to get all the pads and sockets correct.
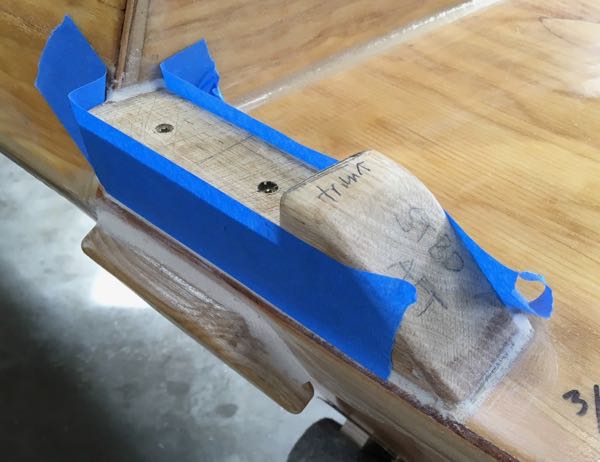
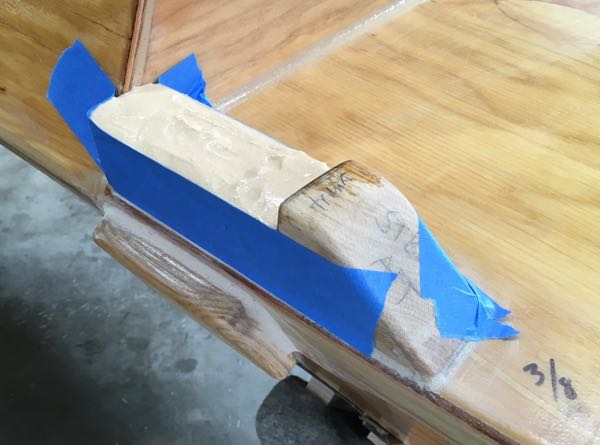
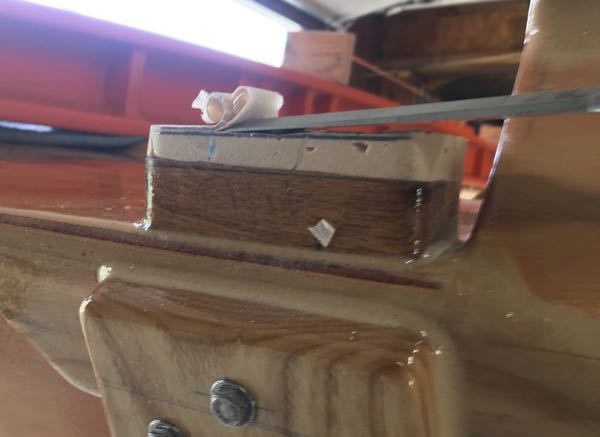
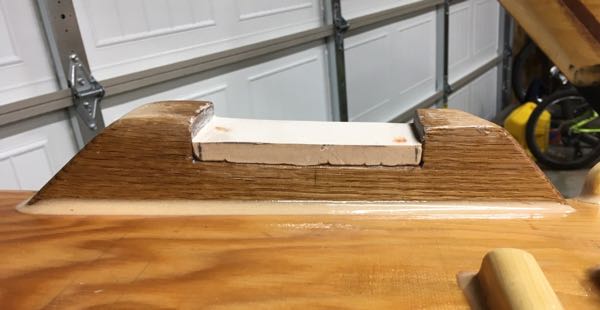
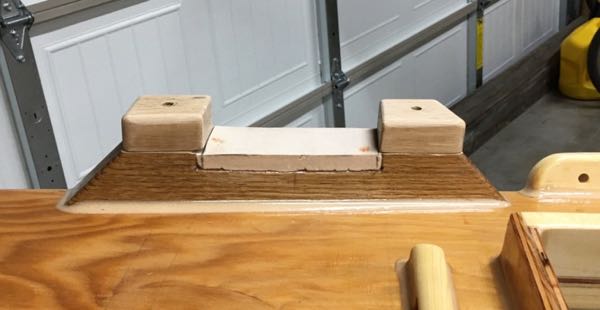
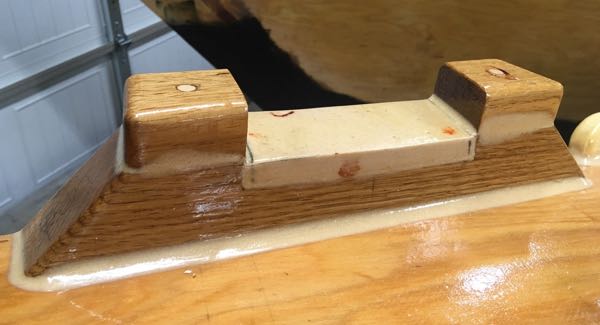
After building up the beam sockets, the “ears” of the sockets were too short to hold the beams in place. I decided to cut all the ears off flat with the base of the socket and glue on new ears. I faired the joint lines so it will look monolithic under some paint.
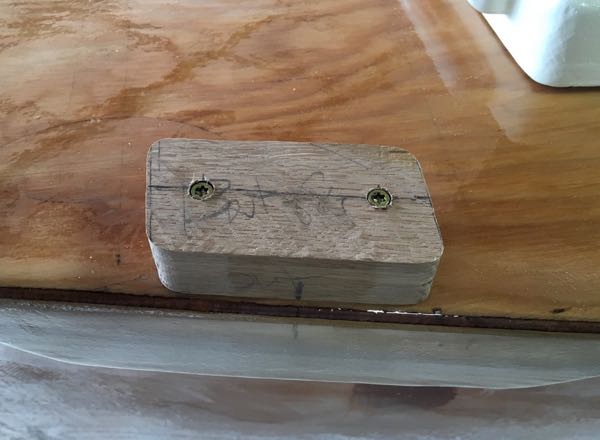
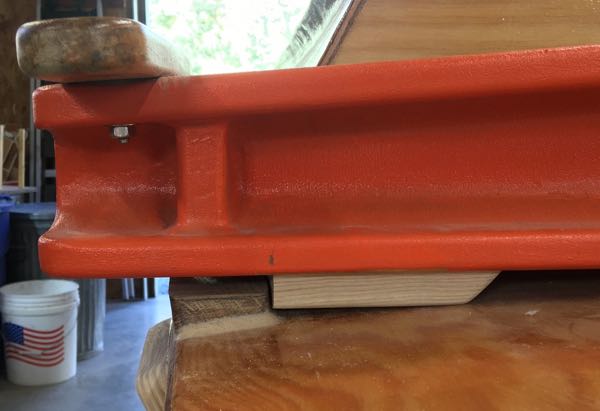
After all that! it was anticlimactic to mark and attach the beam blocks to the underside of the beams.