New Tillers and Finishing the Rudders
I needed to replace the tillers that I had re-built for the original boat. The original rudders had a rudder head thicker than the plans called for - three pieces of 3/4” plywood laminated together - and I built the tillers to fit over that. Because I built the new rudders to plans, the new rudder heads were only 5/8” thick. So the base of the tillers would need to be much narrower to fit them. I also wasn’t happy with the curvature in the rebuilt tillers as they had snapped back some after glue-up. So let’s build them again!
The tillers took a while from start to finish due to a few interruptions like a bout of malaria, work, hand surgery, holidays and some real cold weather - whoa! But they weren’t difficult to build, just lots of steps. This time I wanted to laminate the tillers from thin stock instead of bending 3/4” wood as I did previously. Laminating should eliminate problems with the wood snapping back into shape after the clamps have been removed.
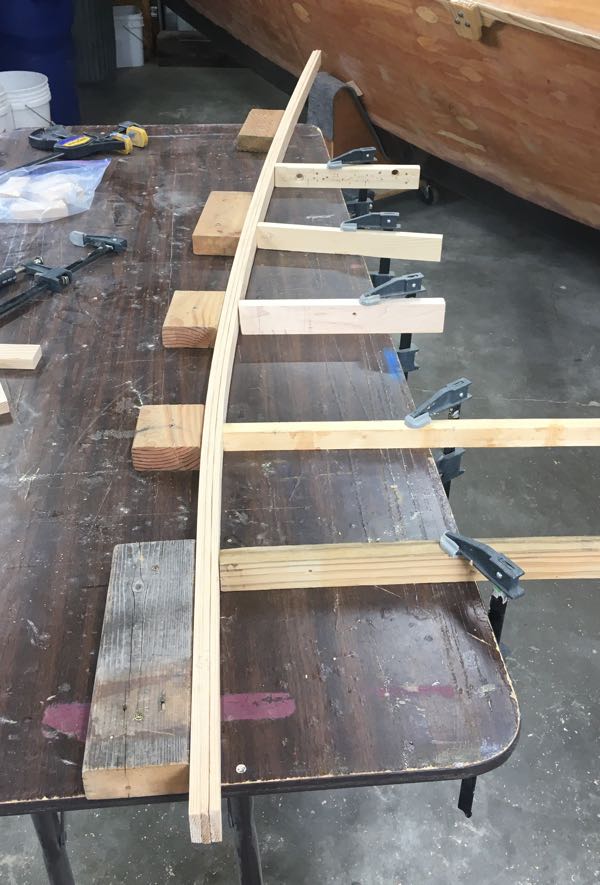
I cut 1x4s in half across their width and then ripped those into 5/16” thick strips for my stock. I created a bending jig on an old work table and glued up the first three strips for the outer half of one tiller. Laminating went well and there didn’t seem to be any snapback, but I had built the jig wrong and didn’t have enough curve in the tiller once again. Rebuilding the jig fixed the problem and I started again.
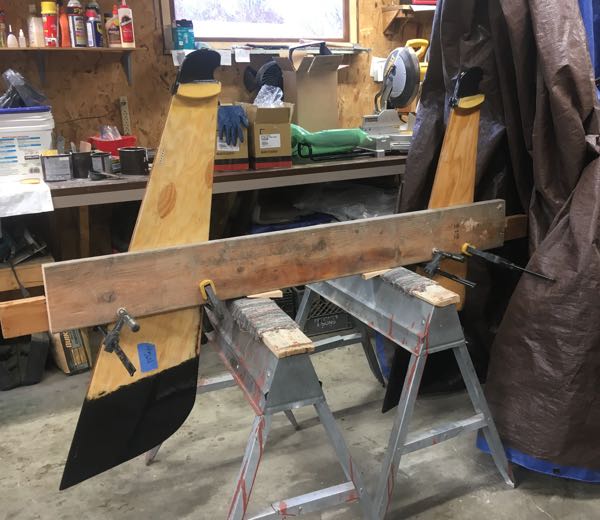
I built the tillers by laminating the outside half first and letting it cure. Then I added the interior blocks and the inner laminations in the second glue-up. The spacer blocks around the tiller head determine the angle of the tiller so I made sure to fit and mark those blocks carefully before gluing. Gluing up one half first allowed me to do the fitting and marking easily.

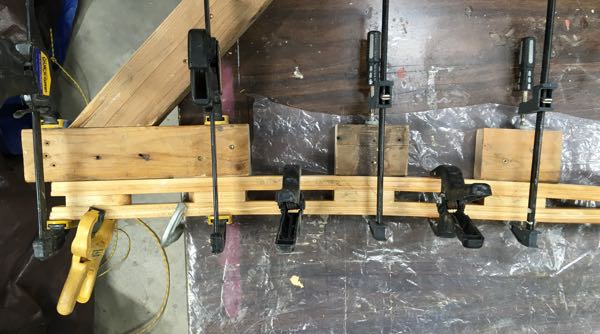
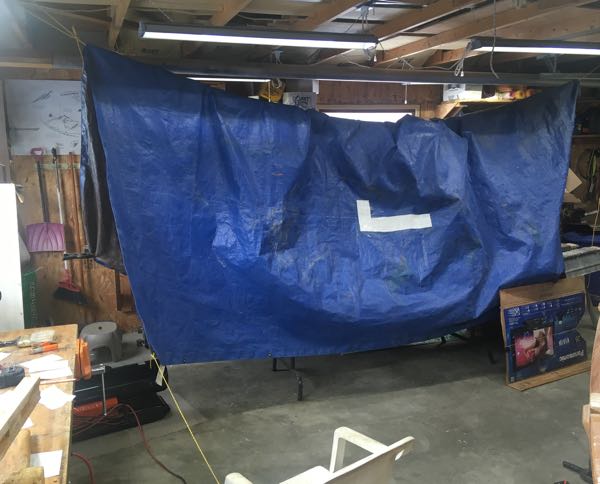
The weather was cold enough that I tented my glue-up table to concentrate the heat from my heater.
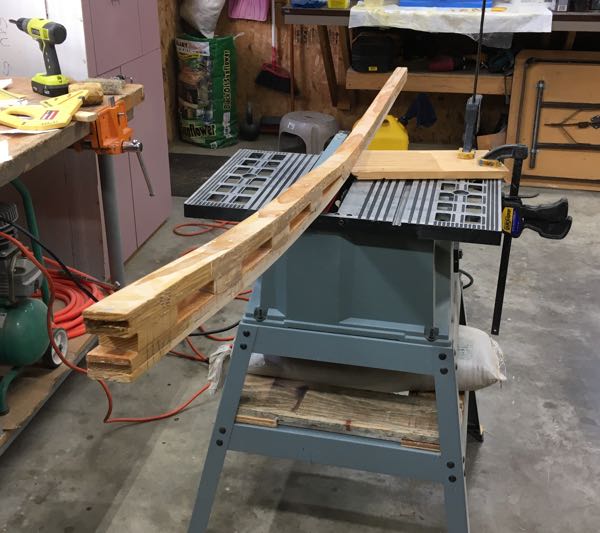
After gluing I trimmed the sides of the tillers at the table saw to even them up. And shaped the edges with a 1/2” roundover bit in my router. As always, there was lots of sanding.
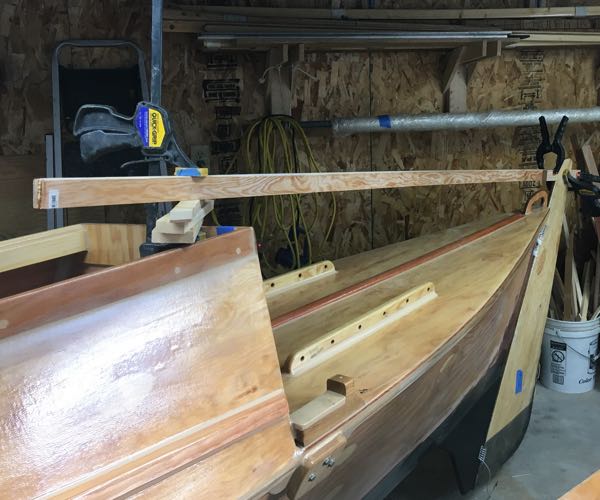
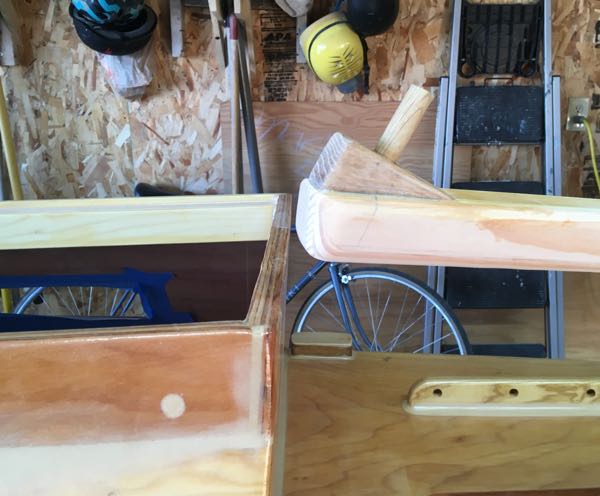
With the tillers at their final size and shape I could fit them to the rudders and glue the rudder blocks in place.
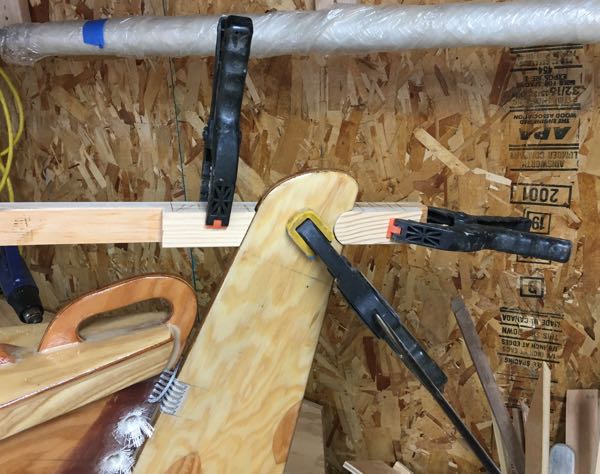
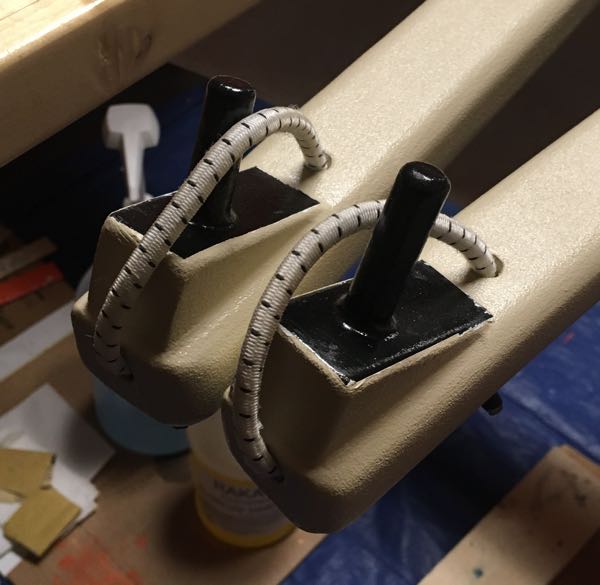
After that, I cut the tillers short so that they wouldn’t stick over the cabins and hit you in the back if you were sitting inside while sailing. And then I added wedges and dowels to connect the tillers to the tiller bar.
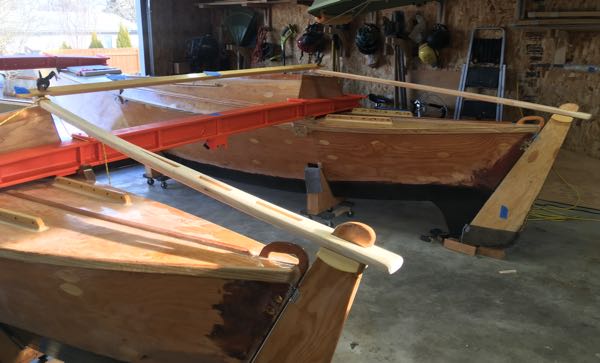
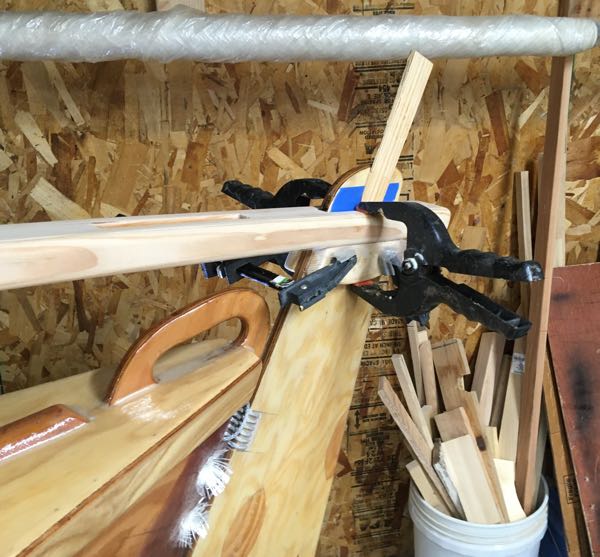
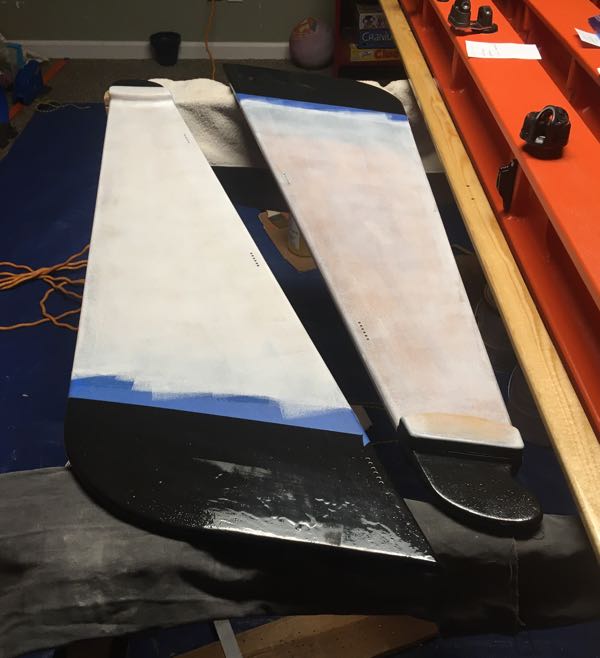
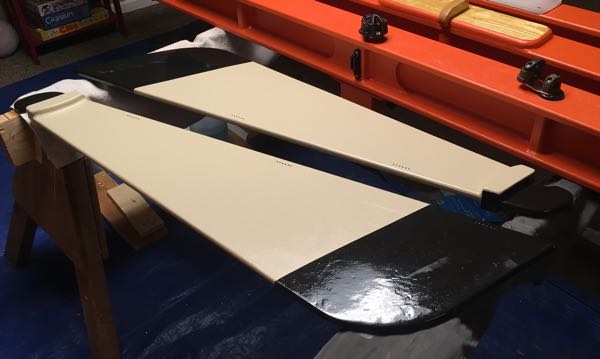
I put on several coats of epoxy thickened with graphite to the rudder heads, rudder bottoms, and to the parts of the tillers that would rub on other surfaces. More coats of clear epoxy plus some filling and sanding led to priming and four coats of paint on the tillers and rudders. This is the first time I have used the paint color that I chose for the hulls. It looks nice with the orange. I’m just using a good quality acrylic latex house paint applied with a foam roller. The roller leaves a little texture, but that’s great for covering up the imperfections!
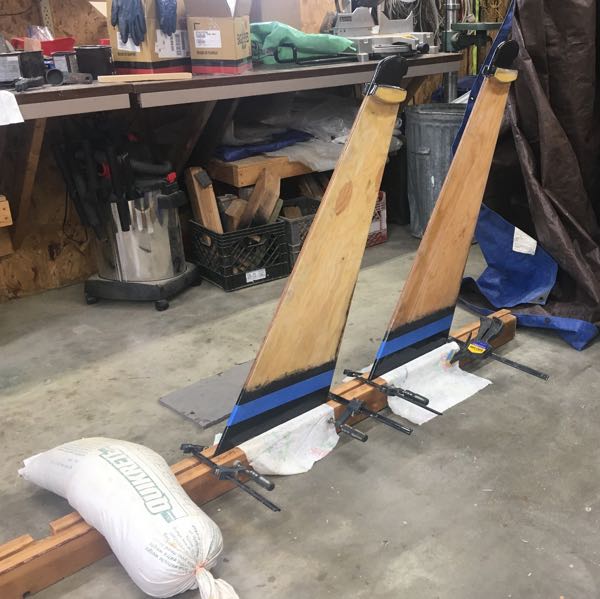
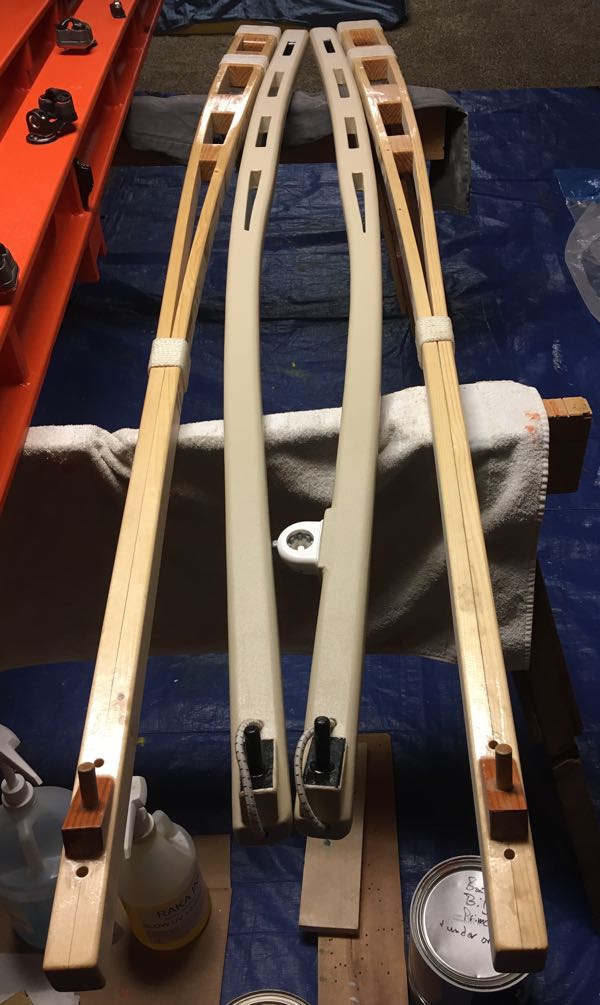
Here’s a picture of the new tillers compared to the tillers I built previously. The new tillers are on the inside. Notice the differences in width at the base and in curvature.
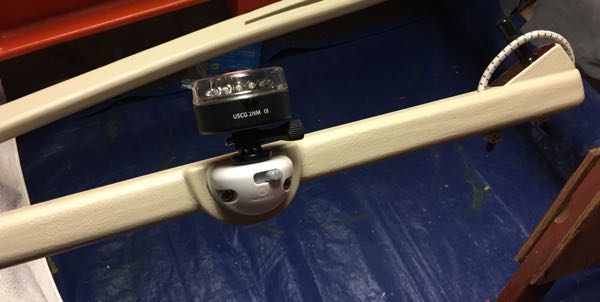
To the port tiller I added a plate to mount the stern navigation light. I wanted to find a spot for the nav light that would be easy to reach but would be behind me so my night vision wouldn’t be affected.