Painting the Hull Bottoms
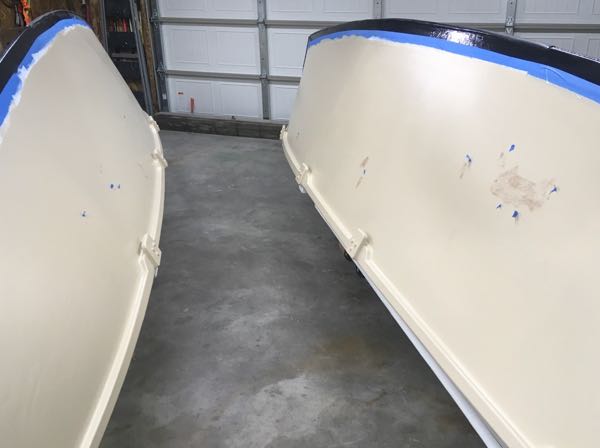
I started painting the bottoms by applying lightly sanding the last epoxy coat and then applying two coats of primer.
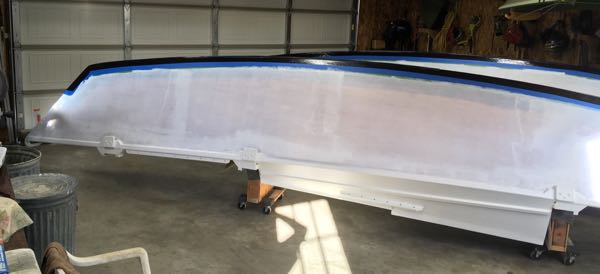
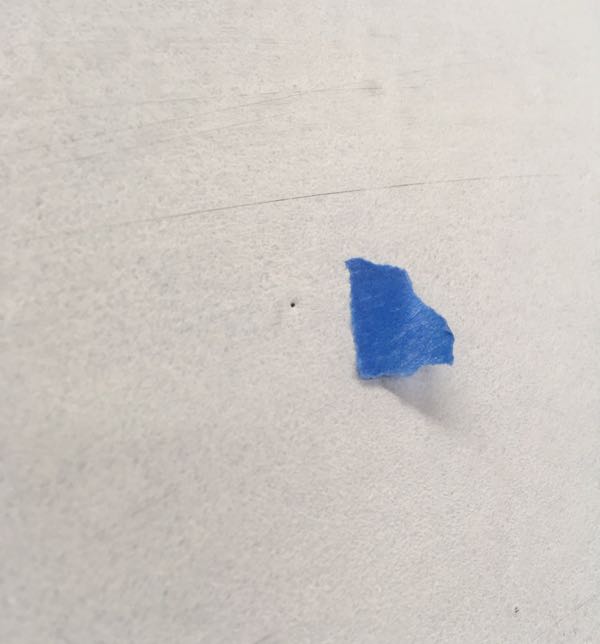
With the primer on I could see pinholes in the epoxy coat. Some sides of the hulls were worse than others, probably due to heating and cooling changes in some of the early epoxy coats. Now I’m not aiming for a perfect finish but I wanted to fill the pinholes because I thought they could lead to premature paint failure.
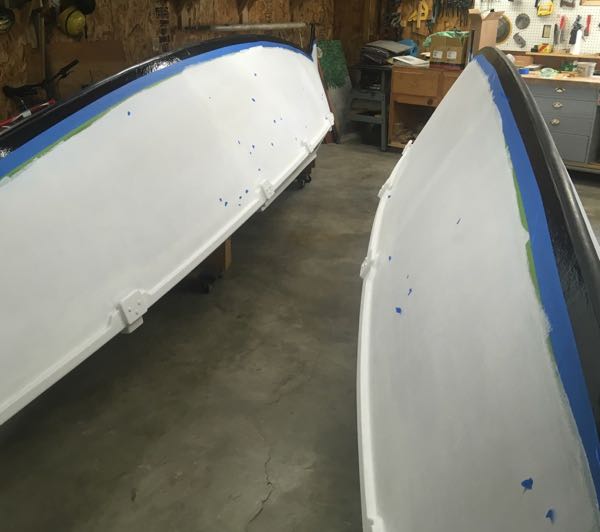
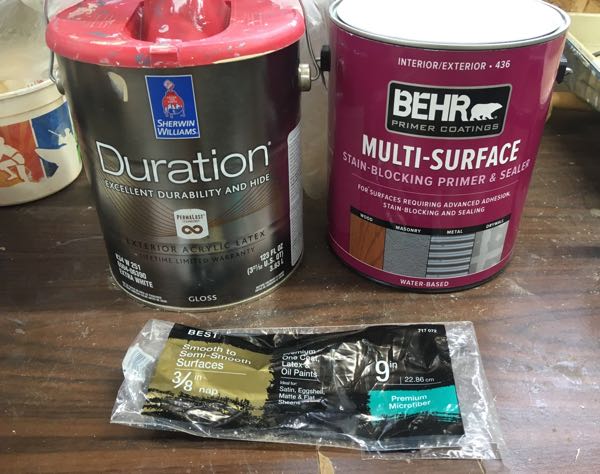
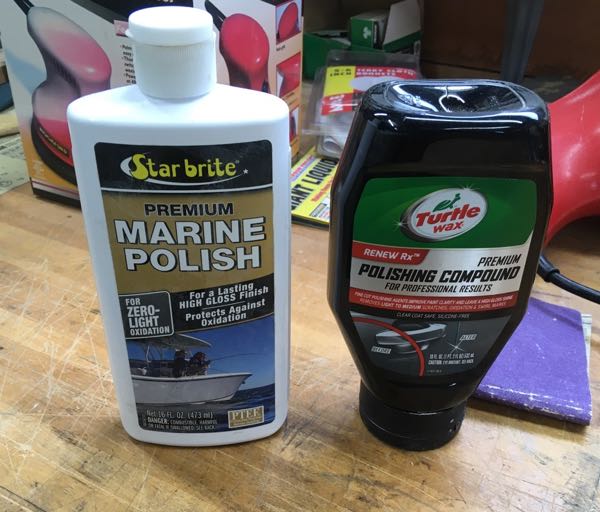
Here’s the primer and paint I’ve been using. Nothing special- we will see how it holds up. I decided to stick with roller texture instead of doing roll-n-tip. I kept painting until I had five thin coats sanding lightly in between each coat.
I learned that latex exterior paint is made to stay flexible after curing to deal with wood movement. To deal with that, I wanted to add something over the paint that would give a little harder surface. So after 72 hours to cure, I added two coats of marine wax.
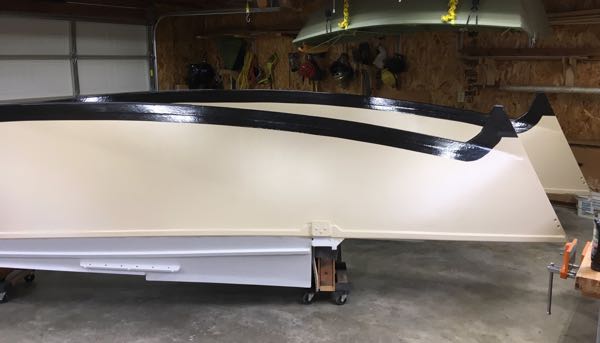
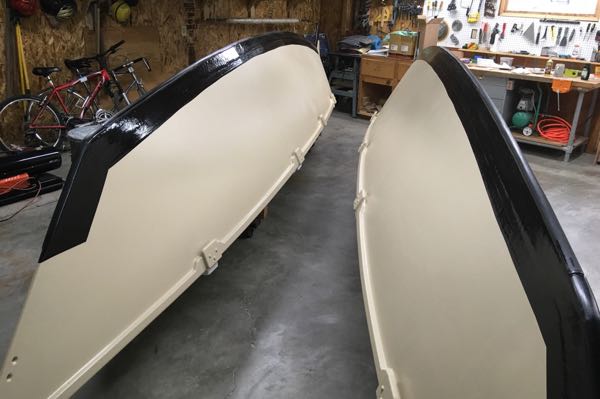
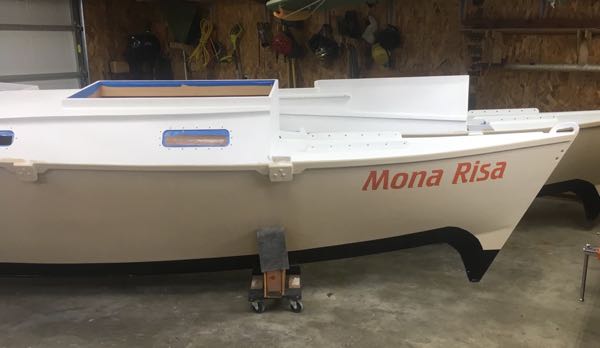
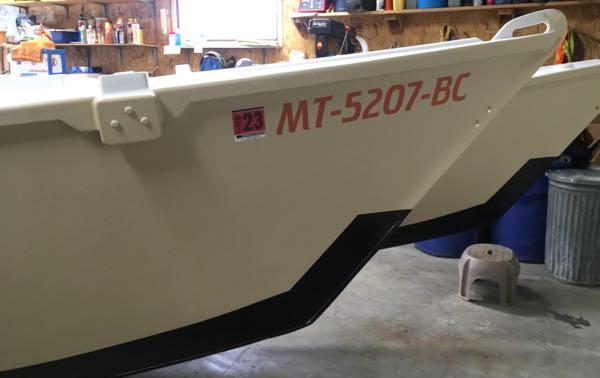
With some help on a cold, cold day I flipped the hulls back over and applied the lettering. I had the boat name and number printed up in 2016 when I brought the original boat home. This has been a long time coming!
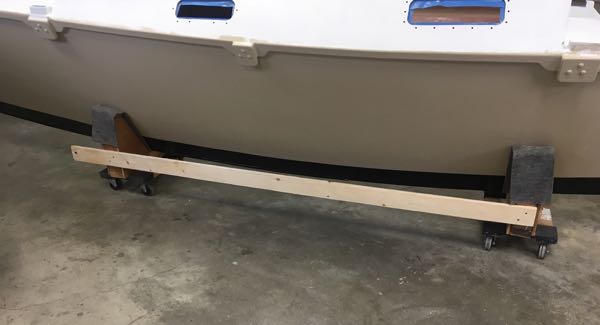
Interesting tidbit about waxing the hulls - they are now so slick that my cradles slide along the hulls instead of rolling across the floor when moving the boat. Ha! So I added some 1x4s to tie the cradles together and that fixed the problem.