First Assembly, Beam Lashings
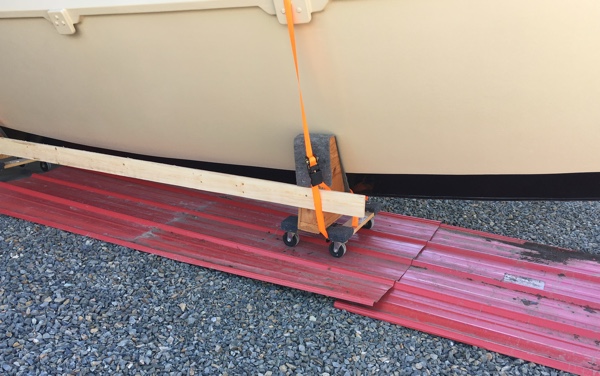
Rachel and I moved the hulls out of the garage and onto the patio using some scrap metal roofing to roll across the gravel and grass. It was great see her out in the sun! And the boat, too LOL
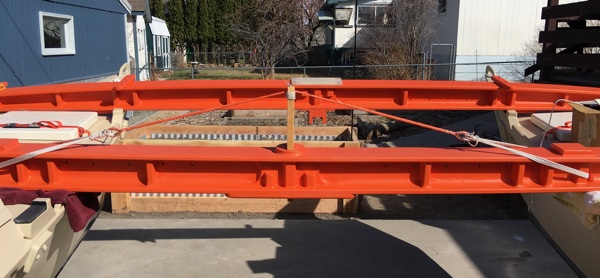
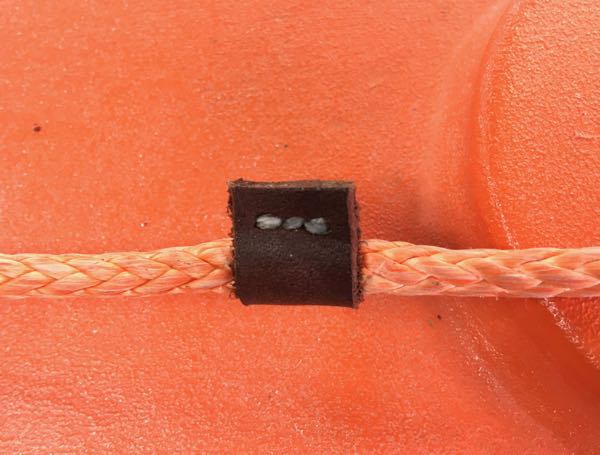
Before lashing on the beams I needed to attach the dolphin striker. I’m using 1/4” Dyneema for the dolphin stay and 4mm double braid for the lanyards. It took 16 feet of rope to make four turns for each lanyard. I marked the center of the stay by sewing through a piece of twine and then sewed a leather sleeve over that to hold the line tight in the dolphin striker.
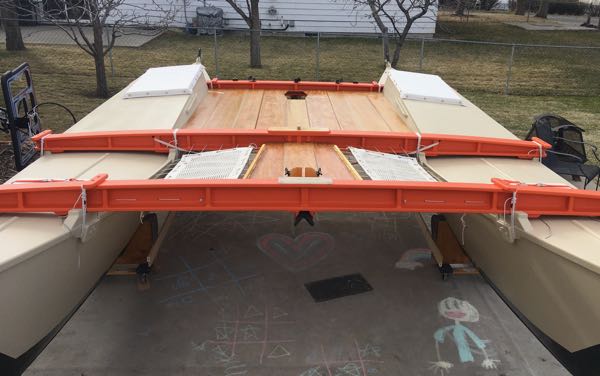
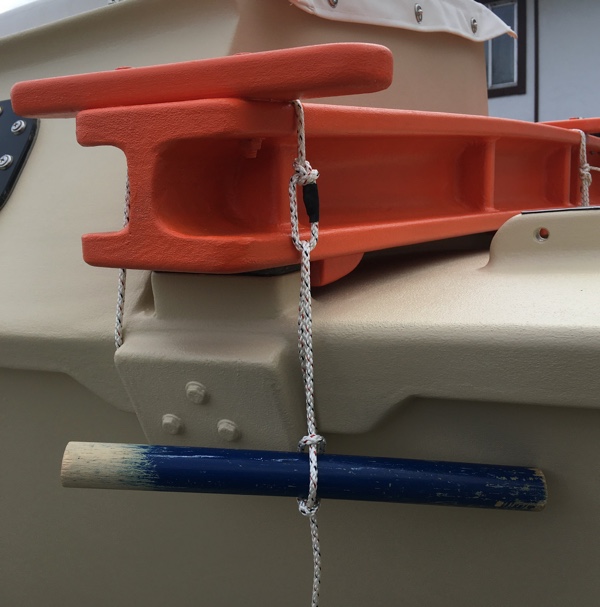
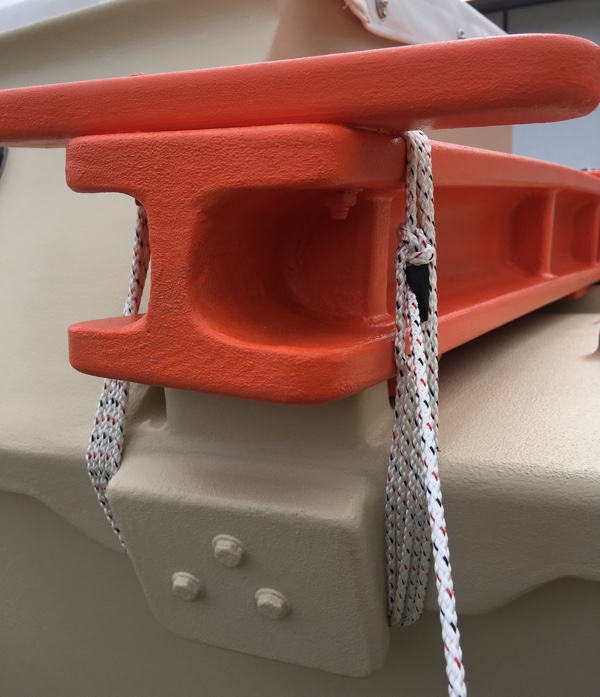
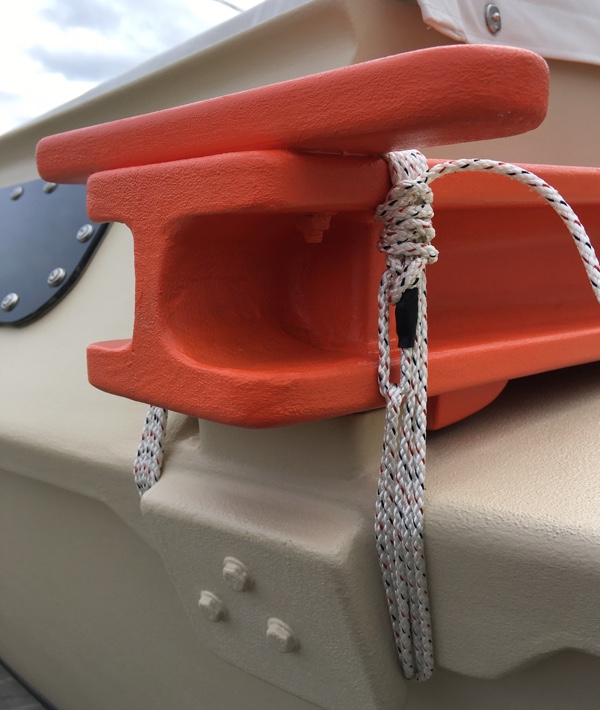
Next were the beam lashings. I started each lashing with a bowline and then measured 12’6” of line for the outer lashings and 14’2” ft for the inner lashings. I’m not attaching a line cleat for the beams so the starting bowline gives me a start and stop place for the lashings. I pulled each turn tight with a marlinspike hitch on a dowel and after five turns I finished off with a bunch of half hitches. Later, I will probably add frappings with Dyneema to really firm things up. Thanks to Brad of Beto for sharing his lashing tips.
Lastly, I lashed the trampolines into place. Here’s my procedure so that I remember:
- Trampolines stay lashed to the fore platform along their inner edges.
- Lash the outer edges first, starting with a stopper knot at the aft hole on the hull batten.
- Lash the aft edges to the center beam next, starting with a stopper knot in the outer most hole on the center beam.
- Lash to the fore beam last, starting with a stopper knot in the innermost hole on the fore beam.
- Finish each lashing with with a round turn and a few half hitches.
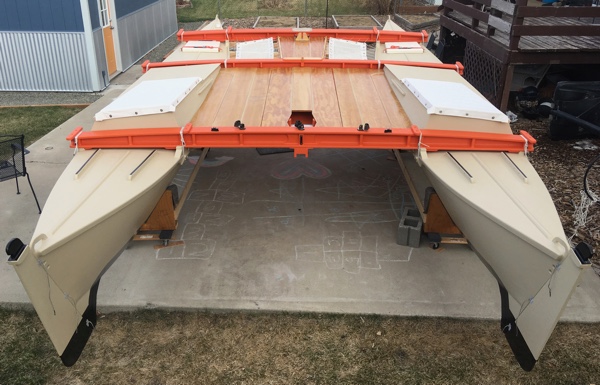
And after that, I had a pretty good looking catamaran sitting on the patio.