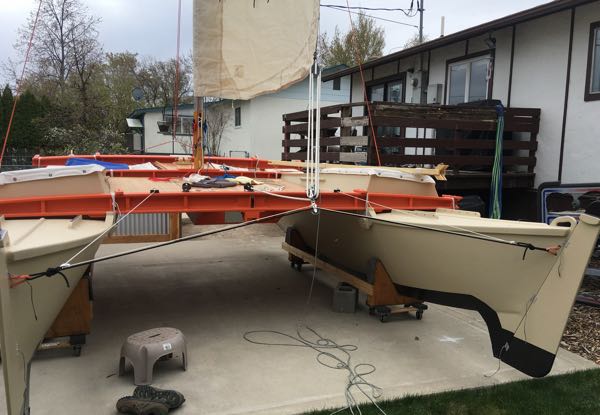
Running Rigging and Raising Sails
With the mast up it was time to finalize the running rigging. I had been thinking about the rigging for a few years and was ready to try out what I had come up with.
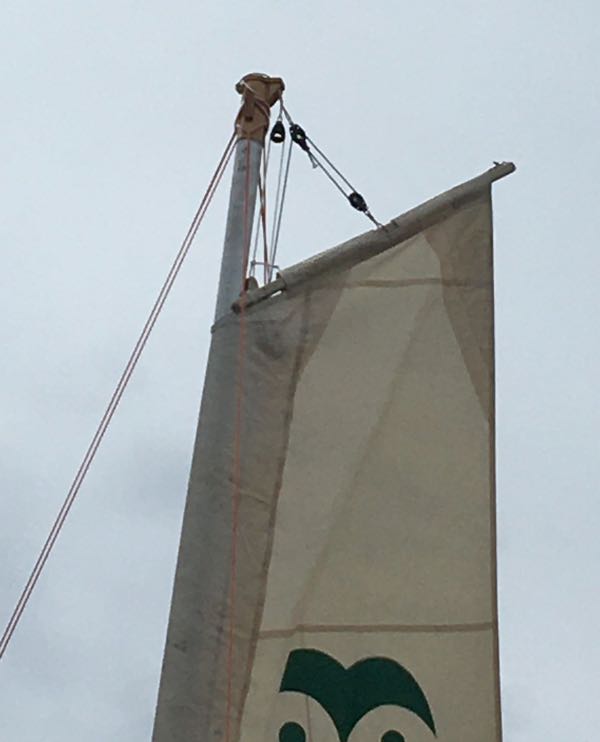
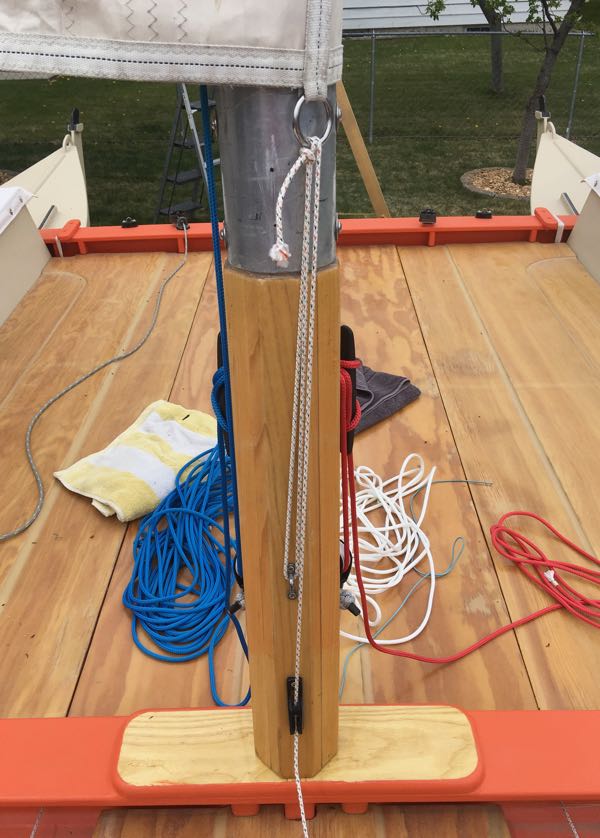
At the mast base, I used blocks and horn cleats for the halyards. The blocks are attached to padeyes with soft shackles so they are easy to remove for traveling. Differing from the Wharram plans, I added a becket block at the top of the mast to get a 2:1 advantage on the gaff’s peak. The downhaul has a padeye and clam cleat and has a 3:1 advantage.
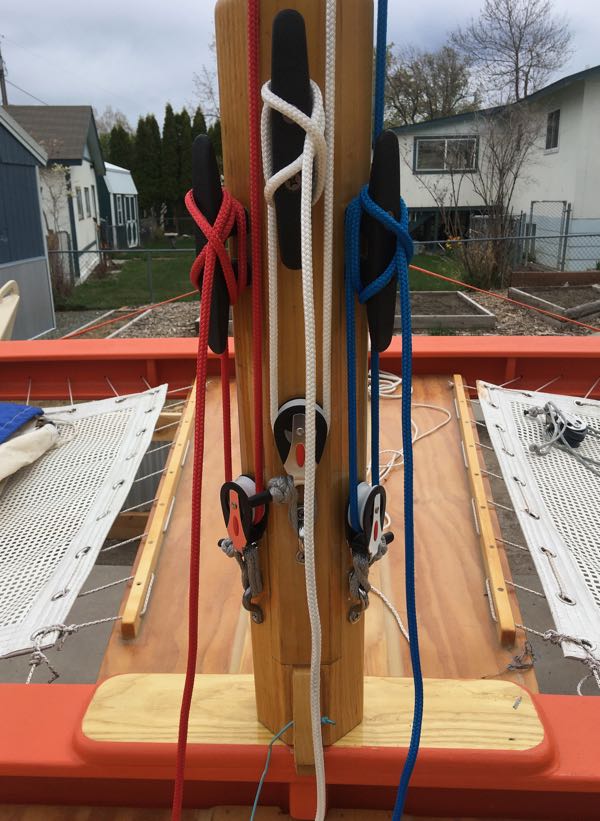
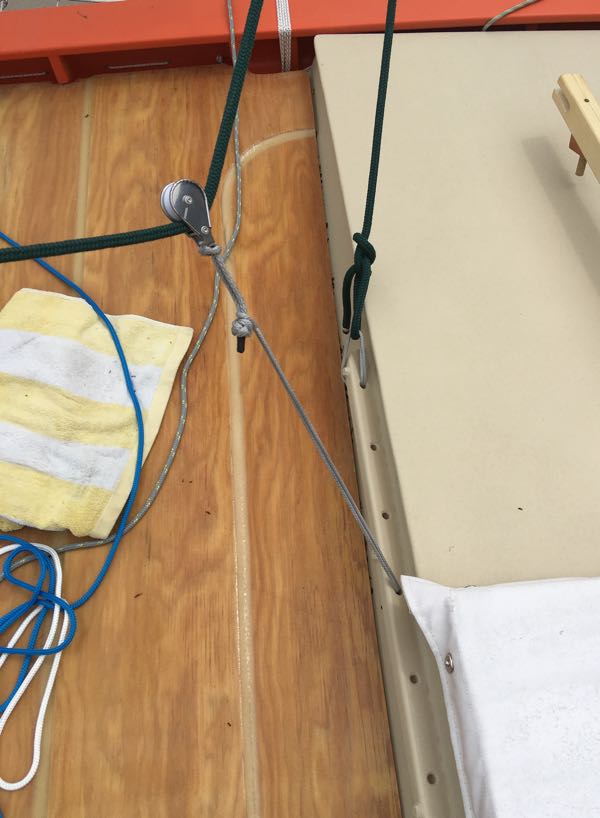
For the mainsheet, I used the standard Wharram 4:1 arrangement with the optional traveler setup. The traveler line has a Figure 8 Double Loop in each end. One of the loops is used to attach the traveler to the sterns with soft shackles. Blocks for the traveler control line are tied in to the other loop. The control line is attached in the middle to a block using an Alpine Butterfly. The line runs through the control blocks to cam cleats on the aft beam.
I like playing with soft shackles and found uses for them on the jib sheets. Each sheet has a bowline tied in the end which is attached to the jib lead with a soft shackle. To attach the adjustable blocks to the jib leads I used “soft line shackles”. I added a large stopper loop to the block and used a long soft shackle to attach the block to the jib lead. This makes it easy to adjust position and I can shorten the shackles by double or triple looping them. (BTW here are my favorite directions for a diamond knot.)
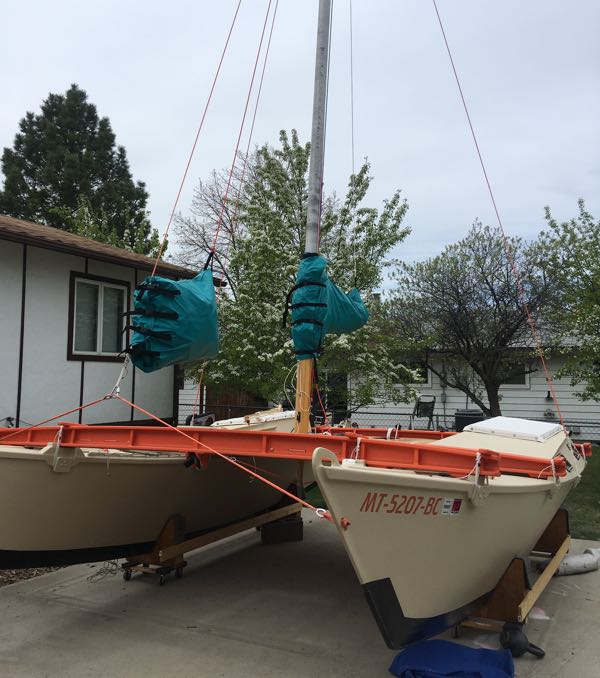
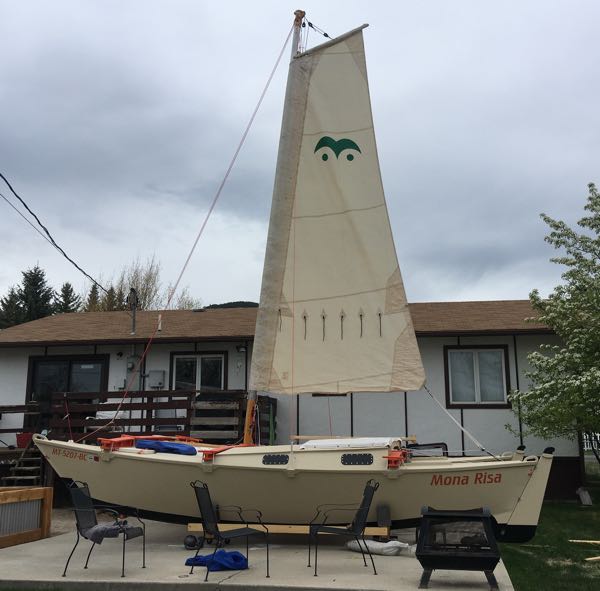
It was great to get the sails up and flying. I had been worried about hanking the jib onto the Dyneema forestay but the hanks fit and slid well - I’ll be checking for wear along the way. I also got my first chance to try out the sail bags that I made. They worked well!